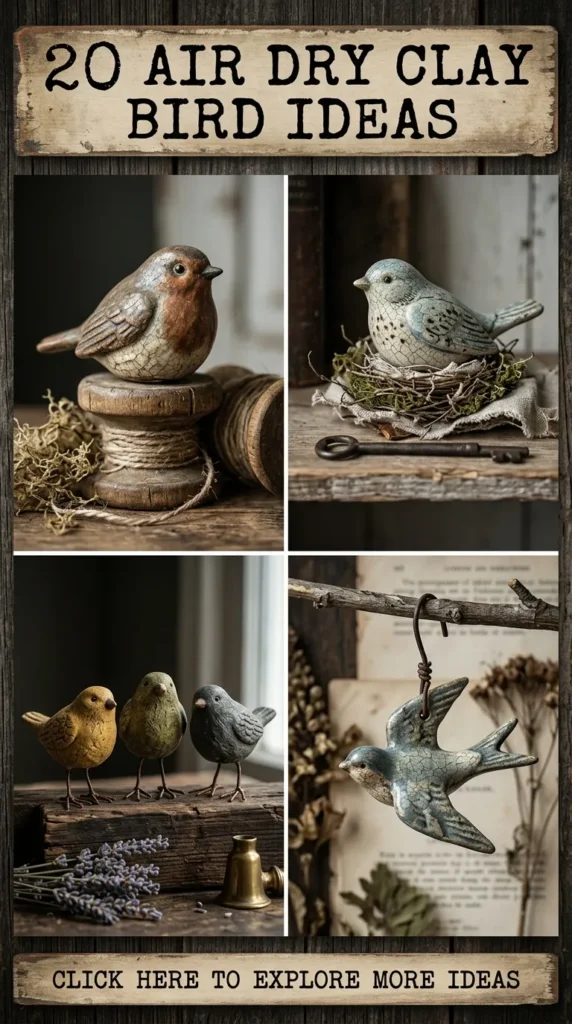
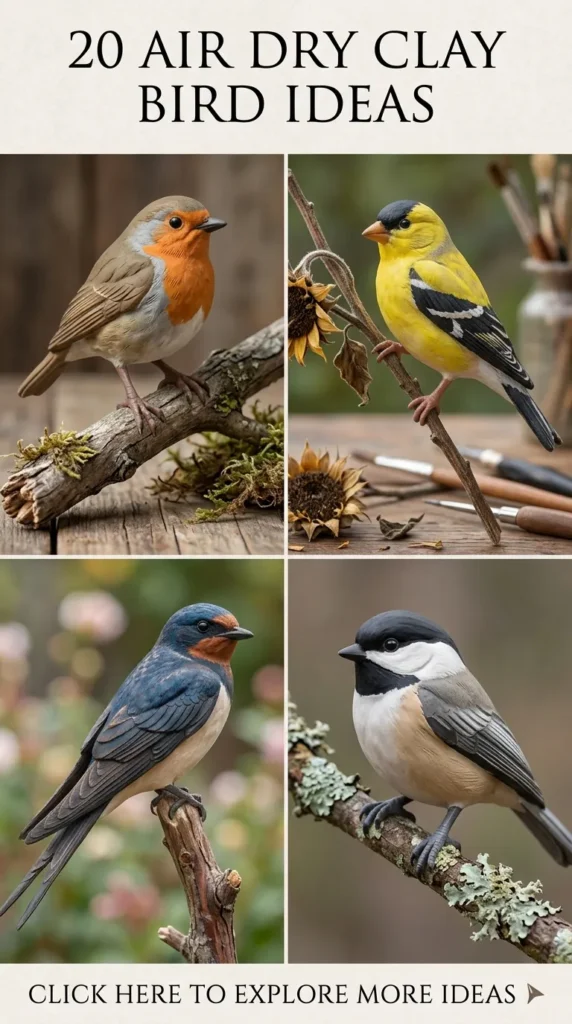
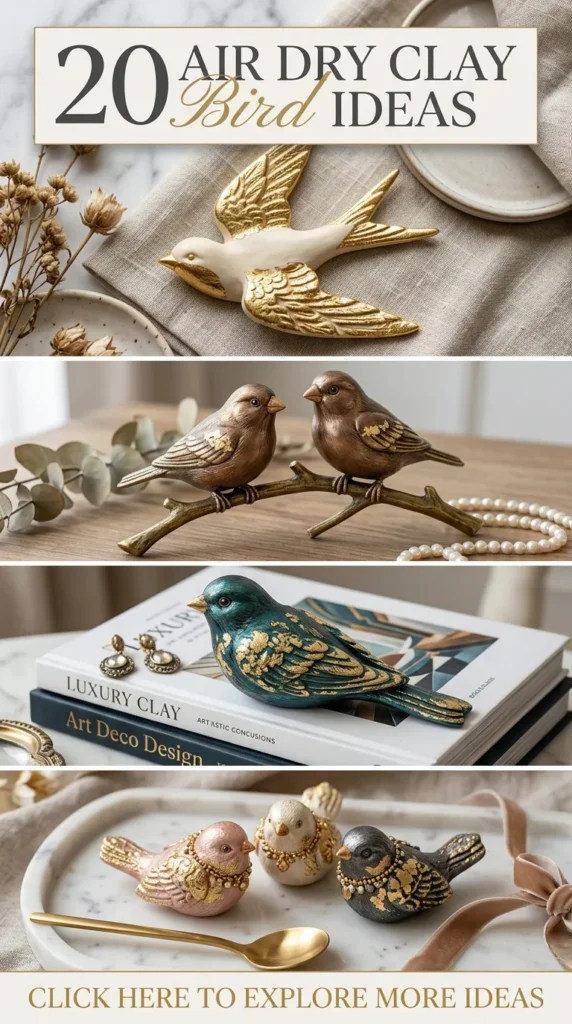
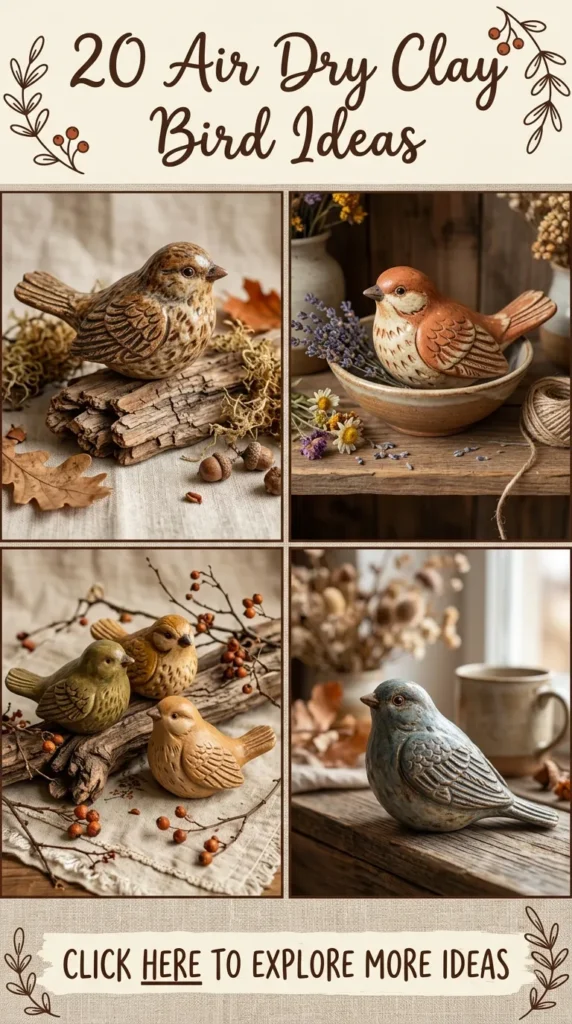
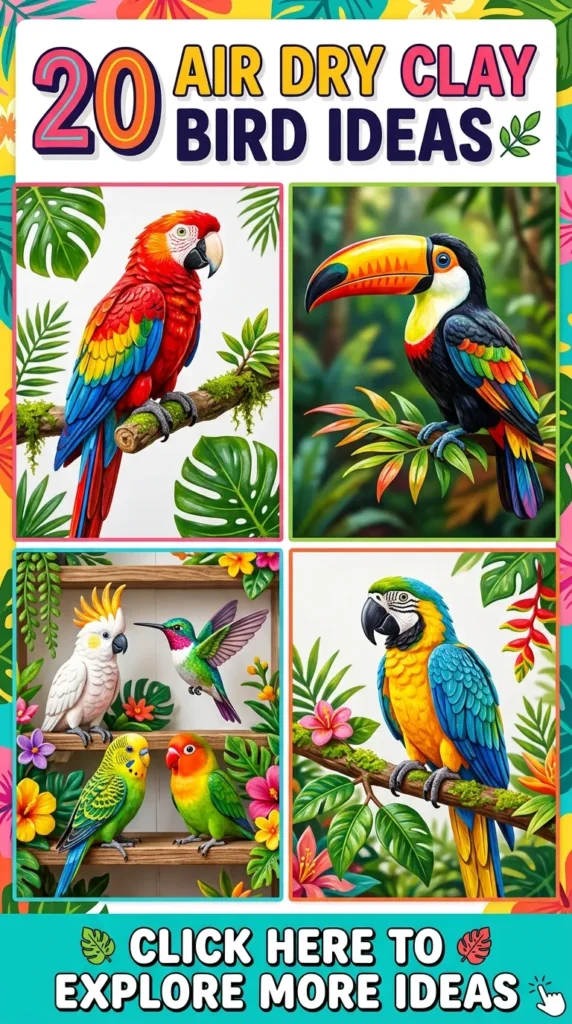
Handmade ceramic-style decor holds a timeless charm, bringing an organic, earthy feel into any living space. Air dry clay is one of the most accessible, versatile, and rewarding mediums for artists, hobbyists, and home decorators alike. Sculpting birds offers an endless palette of creative expression—from sleek Scandinavian silhouettes and playful folk-art figurines to functional catchall dishes, fragrant diffusers, and botanical wall hangings.
This comprehensive guide walks you through 20 gorgeous, aesthetic air dry clay bird projects. Each project includes an introduction, design philosophy, step-by-step sculpting instructions, practical crafting tips, and stylish variations to help you create heirloom-quality decor pieces.
1. Minimalist Scandinavian Matte White Sparrows
Introduction
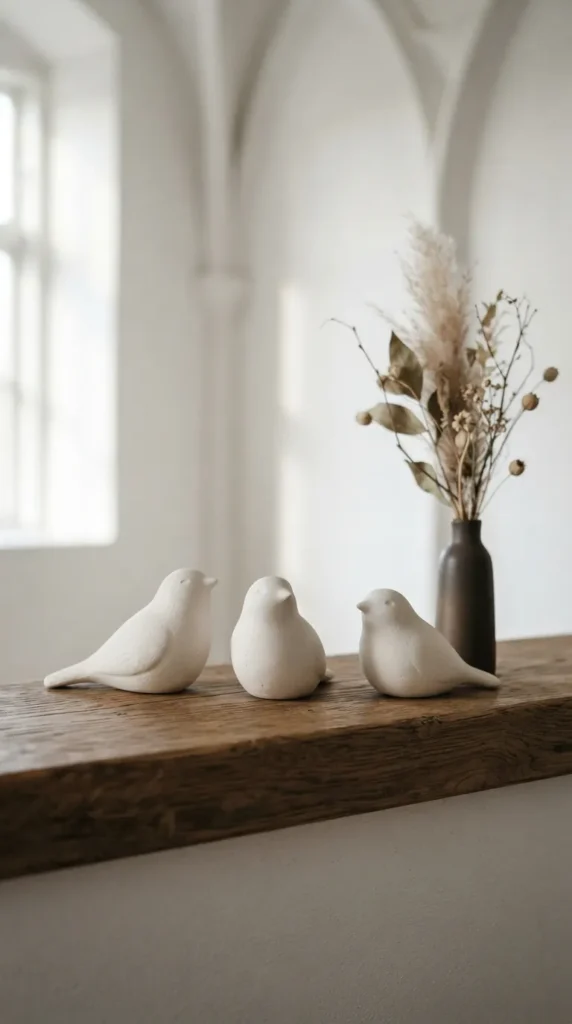
Scandinavian design celebrates the beauty of simplicity, clean lines, and uncluttered silhouettes. These minimalist matte white clay sparrows embody that ethos, trading complex feather carving for smooth, aerodynamic shapes that capture the gentle posture of resting songbirds. Placed on an open oak shelf, windowsill, or minimalist coffee table tray, they provide a peaceful, serene accent.
What This Idea Means
This design focuses on negative space, pure form, and tactile smoothness. Instead of rendering every anatomical detail, it strips the bird down to its essential geometry: a rounded body, a slight tilt of the head, and a tapered tail. The matte finish mimics smooth river stones or raw chalky stoneware, offering a quiet, refined visual texture.
How to Make It
- Conditioning: Knead a palm-sized portion of white air dry clay until soft, pliable, and free of air bubbles.
- Forming the Body: Roll the clay into a smooth egg shape. Gently pinch one end and pull it outward to form a short, upward-angled tail.
- Shaping the Head: Pinch the opposite rounded end gently between your thumb and index finger to raise the head profile. Pull out a tiny, delicate beak using a pinching motion.
- Smoothing: Dip your fingertips in water or use a damp silicone smoothing tool to buff away any seams, ridges, or fingerprints until the surface is completely uniform.
- Drying: Allow the sparrow to dry slowly on a flat drying board for 48 hours, rotating occasionally to ensure even moisture evaporation.
- Finishing: Sand gently with 400-grit ultra-fine sandpaper. Apply two thin coats of ultra-matte chalk acrylic sealer to preserve the soft, powdery ceramic texture.
Tips and Variations
- Tip: Avoid excess water while smoothing; too much moisture introduces surface cracks as the clay shrinks during the drying phase.
- Variation – Bleached Wood Tone: Mix a speck of warm beige or linen-tinted acrylic paint directly into the raw clay body before shaping for a subtle stone look.
- Variation – Flocked Set: Create a family cluster of three sparrows in graduated sizes to style on a console table.
2. Cottagecore Pastel Swallow Trinket Dishes
Introduction
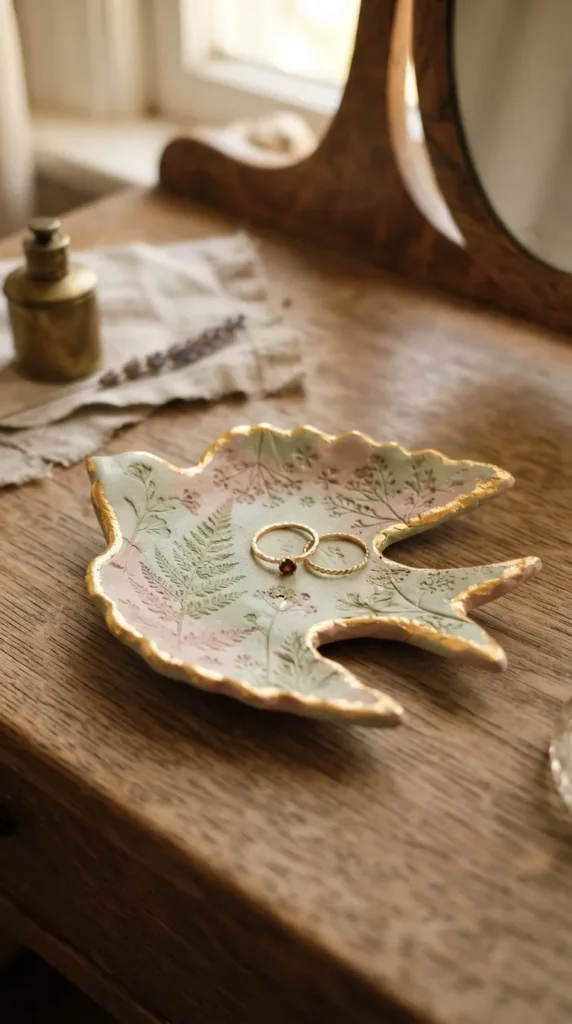
Cottagecore decor thrives on nostalgic warmth, vintage botanicals, and hand-molded domestic charm. A swallow-shaped trinket dish brings the delicate romance of the English countryside to your vanity or nightstand, serving as a functional holder for rings, dainty earrings, and everyday treasures.
What This Idea Means
The swallow is a classic symbol of home, loyalty, and the return of spring. In this project, the graceful curves of outstretched swallow wings are shaped into a shallow, dish-like hollow. Soft pastel color palettes, vintage floral imprints, and gold-rimmed wingtips evoke an antique storybook aesthetic.
How to Make It
- Rolling the Slab: Roll out white air dry clay evenly to a thickness of approximately 6mm using guide rings on a rolling pin.
- Cutting the Shape: Place a paper template of a flying swallow with spread wings onto the slab. Trace and cut around the contour with a craft scalpel.
- Molding the Bowl: Transfer the flat swallow cutout into a shallow ceramic bowl or over a curved foam mold. Gently press the center inward to create a concave bowl while keeping the wings and tail feathers curved slightly upward.
- Detailing: Use a modeling tool to score fine feather textures along the outer wing edges.
- Drying & Painting: Dry for 48 hours. Paint with soft pastel hues such as sage green, dusty rose, or butter yellow. Accentuate the eye and edge trims with metallic liquid gold leaf.
- Sealing: Coat with a high-gloss, waterproof gloss glaze to protect against jewelry scratches and moisture.
Tips and Variations
- Tip: Support the raised wings with crumpled tissue paper while drying inside the mold to prevent the clay from slumping flat.
- Variation – Pressed Botanical Wings: Before cutting out the shape, press dried Queen Anne’s Lace or lavender blossoms into the raw slab to leave delicate floral fossils.
- Variation – Marbled Body: Marble pastel blue and white clay together before rolling out the slab for a swirling, cloud-like finish.
3. Terracotta Bohemian Resting Doves
Introduction
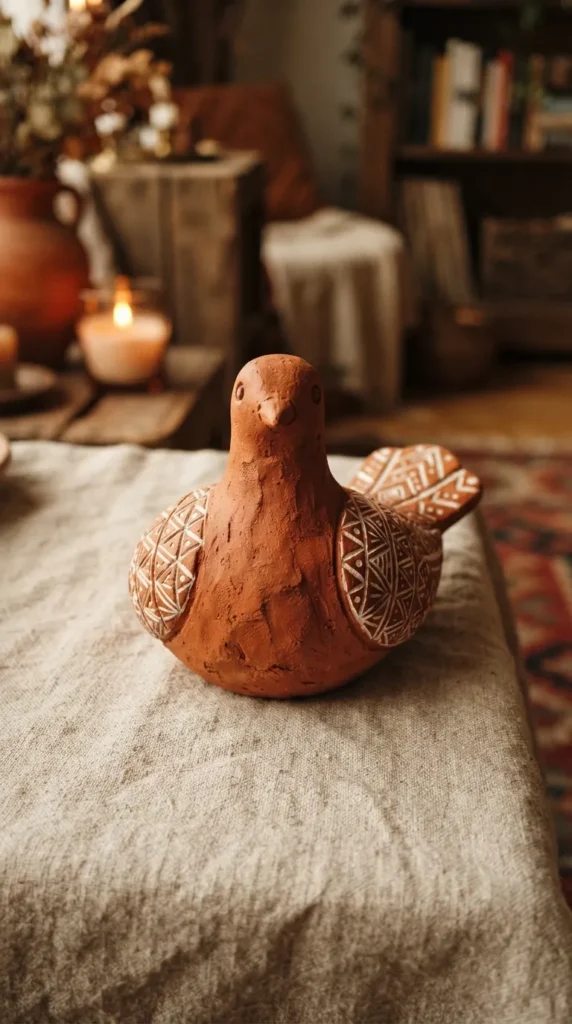
Warm, sun-baked terracotta brings an earthy, grounding element to modern bohemian interiors. These resting terracotta doves showcase soft curves, simple incised tribal or botanical patterns, and unglazed earthy tones that pair naturally with woven textiles, rattan furniture, and leafy house plants.
What This Idea Means
This project embraces rustic charm, imperfect textures, and handcrafted folk art. Rather than striving for sleek perfection, the focus is on celebrating natural earthy pigments, tactile carved geometric lines, and the cozy posture of a dove resting with tucked wings.
How to Make It
- Clay Selection & Shaping: Use natural terracotta air dry clay. Roll a generous ball of clay, shaping it into a compact oval.
- Defining the Head and Tail: Push down slightly on the center to define the neck and head. Smooth out a short, blunt tail resting flat against the surface.
- Carving Geometric Motifs: Using a pointed wooden stylus, etch subtle Aztec, chevron, or leafy botanical motifs along the back where the folded wings meet.
- Adding Contrast: Allow the carved lines to dry slightly, then use a dry brush to dust white chalk pigment or raw plaster powder into the grooves to make the patterns pop against the rust clay.
- Curing: Dry completely for 3 to 4 days away from direct heat to avoid shrinkage fissures. Seal with a breathable matte terracotta wax or penetrating sealant.
Tips and Variations
- Tip: If using regular white clay, achieve this look by mixing raw sienna and burnt umber powdered pigments into your clay before sculpting.
- Variation – Cutout Votive Dove: Carve hollow starburst piercings along the dove’s back before it dries, allowing the glow of an LED tea light to shine through.
- Variation – Raw Texture: Roll the clay over rough linen fabric prior to shaping to impart an authentic coarse pottery texture.
4. Vintage Botanical Transfer Songbird Figurines
Introduction
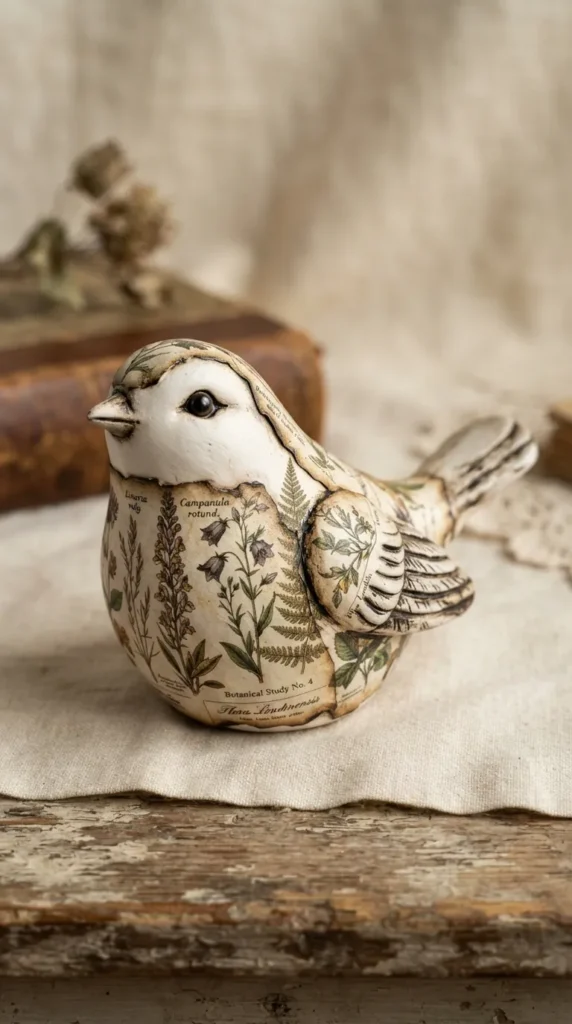
Vintage botanical transfer songbirds combine classic decoupage techniques with modern sculpture. These small songbirds feature antique floral lithographs, script lettering, or wildflower illustrations adhered directly to the clay body, creating an antique porcelain appearance.
What This Idea Means
This piece merges the three-dimensional art of sculpting with the historic beauty of 19th-century botanical pressings. The design transforms a simple sculpted bird into an artistic canvas, showcasing delicate wildflower vines wrapping around the bird’s chest and wings.
How to Make It
- Sculpting Base Form: Sculpt a perky, round-bodied finch or chickadee from white clay. Ensure all surfaces are smoothed flat and free of deep bumps.
- Curing & Sanding: Let the piece dry fully. Sand with fine sandpaper until the surface is porcelain-smooth.
- Applying the Decoupage/Transfer: Cut miniature botanical patterns from tissue paper, napkin top layers, or laser-printed vintage illustrations. Apply Mod Podge or water-slide transfer medium to the bird’s body, smoothing the paper over the curves without wrinkles.
- Blending Edges: Softly blend the paper edges using a damp sponge dipped in cream-colored acrylic wash.
- Aging & Sealing: Lightly brush antique brown wax onto the tail tip and beak corners. Finish with three coats of satin-finish protective varnish.
Tips and Variations
- Tip: Thin decorative paper using water to help it stretch smoothly over spherical curved surfaces without tearing.
- Variation – Antique Book Page Birds: Use vintage musical sheet paper or old dictionary book text fragments as your collage base.
- Variation – Hand-Tinted Transfers: Use watercolor pencils to hand-tint leaves and petals on the transfer print after application.
5. Japanese Kintsugi-Inspired Cracked Ceramic Cranes
Introduction
Rooted in the ancient Japanese philosophy of Wabi-Sabi, Kintsugi is the art of repairing broken pottery with precious gold lacquer, honoring imperfections and history. These stylized clay cranes feature purposeful cracks filled with shimmering gold, making each piece unique.
What This Idea Means
This artistic concept turns accidental or intentional fractures into striking focal points. The graceful silhouette of the Japanese red-crowned crane stands for longevity and peace, while gold-laced fractures represent resilience and authentic beauty.
How to Make It
- Sculpting the Crane Silhouette: Sculpt an elegant crane with an elongated, curved neck and angular, tapered wings resting flat along its sides.
- Creating Natural Fractures: After the bird has air-dried for 24 hours (leather-hard stage), carefully break the bird into 2 or 3 clean pieces using a craft knife or by gently tapping it.
- Complete Drying: Let the individual fractured parts dry completely for another 24 hours.
- The Gold Repair: Mix quick-setting two-part epoxy or thick craft glue with brilliant mica gold powder. Apply the mixture generously along the broken fracture lines and press the pieces back together, allowing the golden adhesive to squeeze out of the seams.
- Polishing: Once dry, buff away excess rough edges while keeping the bright gold seams raised and visible. Coat with high-gloss porcelain glaze.
Tips and Variations
- Tip: If you prefer not to break the dry sculpture, you can carve thin, lightning-like fissures into the surface and paint them with liquid gold leaf.
- Variation – Charcoal & Gold: Paint the crane body in matte charcoal black so the radiant golden fracture lines pop dramatically.
- Variation – Rose Gold Accents: Swap classic yellow gold powder for metallic copper or rose gold pigments.

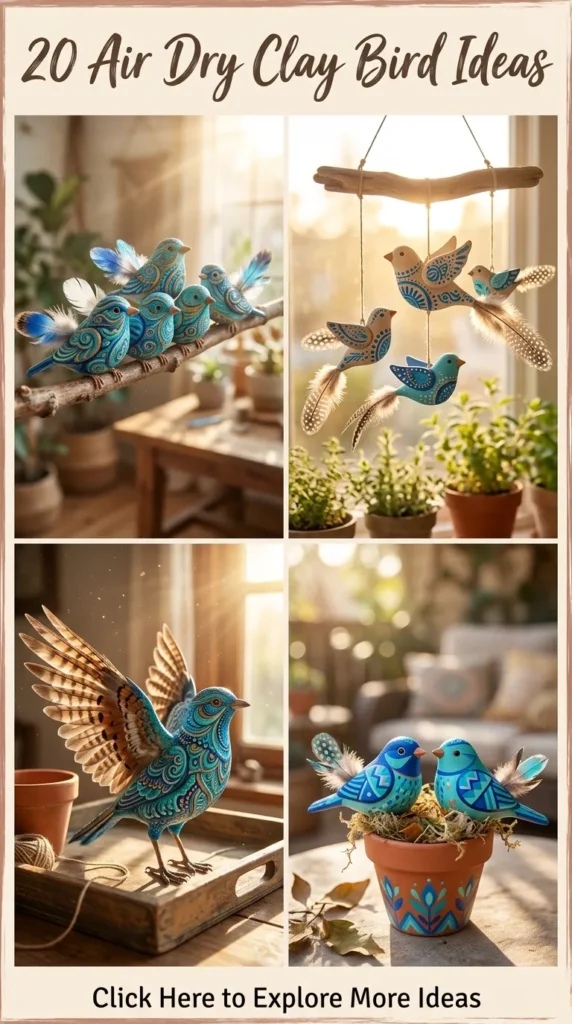
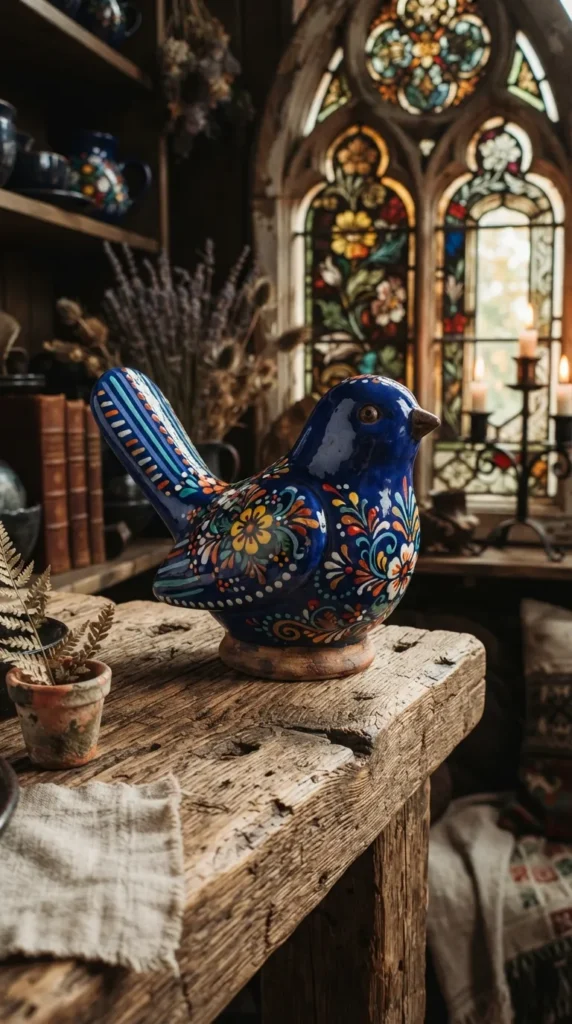
6. Whimsical Folk-Art Patterned Bluebirds
Introduction
Inspired by Scandinavian, Mexican, and Eastern European folk traditions, these whimsical patterned bluebirds burst with bright colors, floral scrolls, teardrop accents, and decorative cross-hatching. They add a cheerful, handcrafted charm to dressers, children’s nurseries, and eclectic gallery walls.
What This Idea Means
Folk art emphasizes storytelling, bold stylized shapes, and rhythmic geometric motifs. These birds do not imitate nature directly; instead, they celebrate the joy of ornamental painting, playful proportions, and imaginative patterns.
How to Make It
- Sculpting Plump Proportions: Shape a plump, rounded body with exaggerated short tails and an oversized, friendly head.
- Smoothing & Pre-drying: Create a completely flat bottom base so the bird stands securely. Dry for 48 hours.
- Base Coating: Paint the entire figurine in a rich cobalt or Prussian blue acrylic base coat. Let dry.
- Fine-Line Detailing: Using a fine 00-detail brush, paint decorative floral blooms, scroll vines, white teardrop dots, and saffron-yellow accents across the wings, breast, and tail.
- Varnishing: Protect the intricate detailing with a clear gloss or satin polyurethane sealer.
Tips and Variations
- Tip: Use dotting tools or the flat end of a wooden skewer to stamp uniform, crisp paint dots effortlessly.
- Variation – Talavera Inspired: Use a white base coat and paint intricate cobalt blue floral swirls across the surface to mimic Spanish or Mexican Talavera ceramics.
- Variation – Hanging Folk Ornaments: Insert a bent wire loop into the top of the bird’s back before drying to turn it into a hanging tree ornament.




7. Wabi-Sabi Speckled Stoneware Hummingbird Planter Picks
Introduction
Stoneware planter picks bring artisanal character to indoor jungles and succulent bowls. Shaped like hovering or perched hummingbirds mounted on brass rods, their speckled earthy finishes integrate effortlessly among vibrant green foliage.
What This Idea Means
The Wabi-Sabi design approach values raw textures, organic irregularities, and unassuming simplicity. These hummingbird plant stakes mimic coarse speckled stoneware pottery, acting as tiny garden guardians nestled within potted plants.
How to Make It
- Sculpting with Wire Insert: Sculpt a miniature hummingbird with a pointed, slender beak and angled swept-back wings.
- Mounting Hole: Insert a thick 2mm brass wire or wooden skewer into the belly of the bird while the clay is wet, twist slightly to create an anchor hole, and remove the wire before drying.
- Texturing: Press coarse sand or real coffee grounds into the surface of wet clay to produce natural mineral speckles.
- Painting & Glazing: Once dry, wash with diluted greyish-stone acrylic paint, allowing dark speckles to show through. Splatter with a stiff toothbrush dipped in burnt umber paint for added stone texture.
- Assembly: Seal with a water-resistant exterior sealer, then glue the bird permanently onto the brass rod with strong multi-surface adhesive.
Tips and Variations
- Tip: Waterproofing is essential for planter picks, as watering plants creates moisture. Apply at least two coats of outdoor-grade water-resistant sealant.
- Variation – Winged Perch Ring: Sculpt the hummingbird attached directly to a circular clay hoop that frames a hanging air plant.
- Variation – Glazed Beak Contrast: Keep the main body raw and unpainted, but paint the beak in high-gloss metallic bronze for subtle contrast.
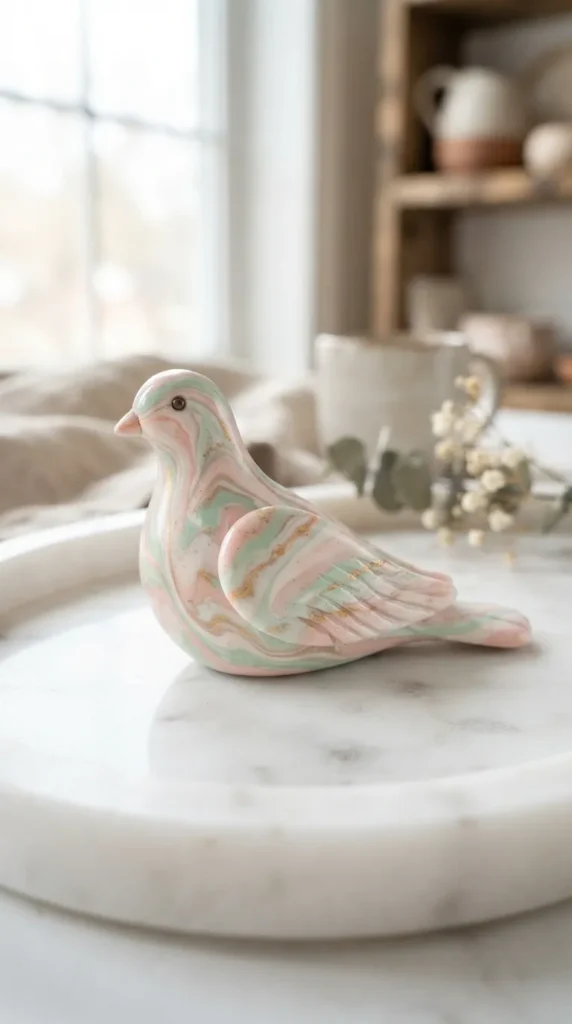
8. Ethereal Marbled Pastel Winged Doves
Introduction
Marbling air dry clay is a mesmerizing technique that creates fluid, one-of-a-kind stone patterns resembling Italian marble or swirled sea glass. These ethereal doves blend soft pastel hues like blush pink, seafoam, lavender, and white into gentle, soothing gradients.
What This Idea Means
This project requires no painting brushes at all. The aesthetic appeal comes directly from twisting, rolling, and folding different colored clays together, producing organic marble swirls that highlight the bird’s curves.
How to Make It
- Tinting Clays: Divide your white clay into three portions. Tint one portion soft blush with a drop of pink acrylic, the second with soft sage green, and keep the third white.
- Marbling Technique: Roll each color into separate snake coils. Twist the three coils together into a single rope, fold in half, stretch, and twist again. Repeat 3–4 times until colors swirl without fully blending together.
- Sculpting the Dove: Form the marbled clay block into a dove shape with sweeping wings and an upturned tail, taking care not to over-knead and muddy the colors.
- Drying: Dry slowly in a cool, shaded spot for 48 hours.
- Polishing: Sand with ultra-fine 800-grit wet/dry paper to reveal crisp marbling veins, and coat with high-gloss liquid glaze.
Tips and Variations
- Tip: Stop folding the clay as soon as you see distinct stripes; over-mixing turns the clay into a single muddy color.
- Variation – Golden Veins: Roll a thin ribbon of gold leaf into the clay snake before folding to incorporate metallic veins.
- Variation – Coastal Blue Wave: Blend navy, teal, and cream clay to capture the rolling colors of ocean surf.
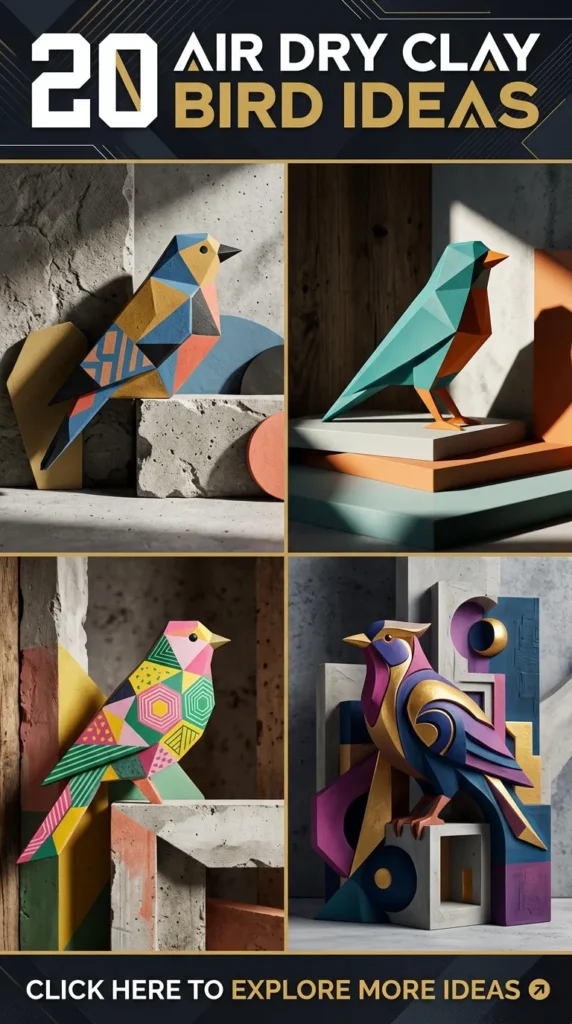
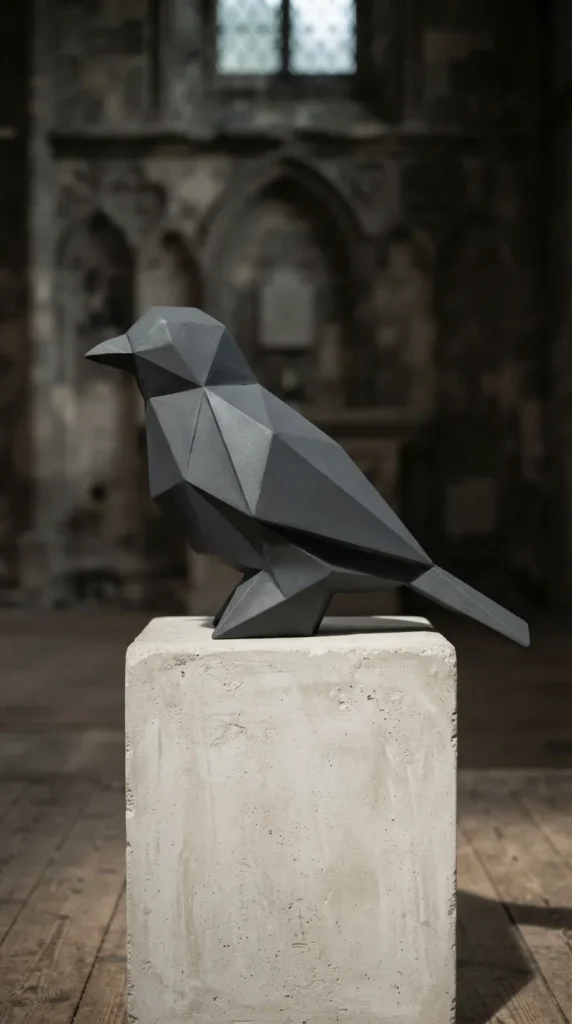
9. Modernist Geometric Faceted Origami Birds
Introduction
Taking inspiration from both Japanese origami paper folding and modern poly-art 3D sculptures, these faceted geometric birds feature flat planes, crisp razor edges, and sharp angles. They make striking accents in contemporary, industrial, or mid-century modern spaces.
What This Idea Means
This aesthetic discards soft, rounded curves in favor of structural lines and geometric planes. The play of light and shadow over the angular facets turns these clay birds into miniature architectural statements.
How to Make It
- Rough Form: Sculpt a basic chunky bird block shape with a flat bottom, angular head, and blocky tail.
- Leather-Hard Trimming: Allow the clay to firm up for 6–8 hours until it feels like stiff cheddar cheese (leather-hard stage).
- Carving Facets: Using an ultra-sharp hobby knife or clay trimming tool, slice off flat geometric bevels across the entire surface at various angles, creating a clean faceted look.
- Edge Refining: Use a flat needle file or sanding block to sharpen the straight edges and remove surface burrs.
- Drying & Monochrome Finish: Let cure completely. Paint with monochrome matte black, architectural concrete gray, or warm mustard yellow.
Tips and Variations
- Tip: Never cut fresh, soft clay with a knife; wait until it firms up to leather-hard consistency to keep cuts crisp without dragging or squishing.
- Variation – Two-Tone Facets: Paint adjacent triangular planes in alternating lighter and darker shades of the same color for dramatic depth.
- Variation – Raw Concrete Wash: Apply a light gray stone-effect spray texture for an industrial brutalist feel.
10. Golden-Rimmed Floral Imprint Bird Wall Hangings
Introduction
Wall-mounted clay hangings bring visual texture and handmade beauty to gallery walls. These flat-backed bird plaques feature real flower and lace impressions pressed into the clay, finished with lustrous hand-painted golden edges and strung on raw leather cord.
What This Idea Means
This concept combines organic relief printmaking with home decor styling. It transforms fresh garden botanicals—such as fern fronds, rosemary sprigs, and small blossoms—into lasting tactile impressions across a silhouette in flight.
How to Make It
- Rolling & Stamping: Roll clay into an even 5mm slab. Lay fresh garden leaves or delicate flowers face-down on the clay and roll over them firmly with a rolling pin.
- Cutting the Silhouette: Peel off the botanicals to reveal detailed leaf vein impressions. Use a bird-shaped cookie cutter or hand-cut a silhouette in flight.
- Hanging Hole: Poke a clean 4mm hole near the top center of the bird’s back with a straw for hanging.
- Drying: Dry under a flat wooden board with light weight on top to prevent the edges from curling upward.
- Antiquing & Gilded Edge: Rub diluted sepia watercolor or antiquing wash over the pressed botanical lines to highlight depth. Paint the outer edge with liquid gold gilding paint.
- Display: Thread a natural suede cord or raw jute twine through the hole and tie off with a wooden bead.
Tips and Variations
- Tip: Dry flat plaques between sheets of parchment paper under a heavy book to keep them perfectly flat as moisture evaporates.
- Variation – Vintage Lace: Replace leaves with antique crocheted doilies for intricate, romantic textile impressions.
- Variation – Trio Mobile: Hang three birds of different sizes from a piece of natural driftwood using waxed linen thread.
11. Cozy Speckled Ceramic Owl Tea Light Holders
Introduction
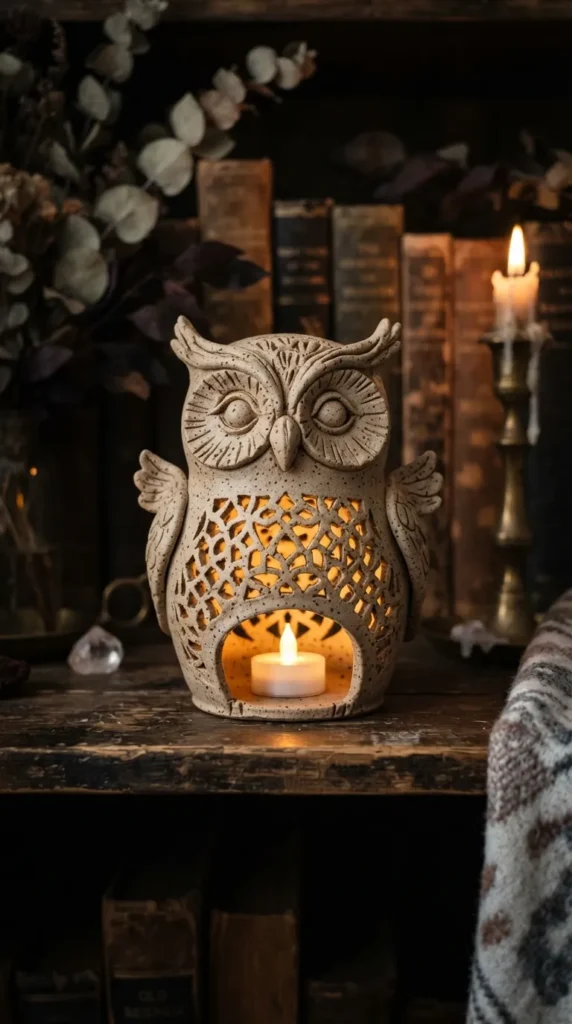
Owls symbolize wisdom, mystery, and cozy nighttime comfort. These hollow, dome-bodied ceramic-style owl tea light holders feature pierced eyes and belly feathers that cast glowing, ambient patterns across your room when lit with an LED tea light.
What This Idea Means
This functional project centers on ambient light and cozy home warmth. The hollow interior holds a flameless light source, while delicate pierced patterns turn the sculpture into an ambient night lantern.
How to Make It
- Pinch Pot Base: Shape a hollow, upside-down pinch pot bowl to form the owl’s rounded body and head.
- Forming Features: Pinch the top corners into two distinct ear tufts. Add a triangular beak and two flat circular clay discs for the large eye rings.
- Pierced Light Cutouts: Using a round leather hole punch or metal drinking straw, cut out holes for the pupils and a series of geometric starburst patterns across the owl’s belly.
- Base Opening: Ensure the bottom is completely open and wide enough to fit over standard LED tea light candles.
- Drying & Glazing: Dry for 3–4 days. Paint with cozy oatmeal speckled ceramic glaze or warm stone tones, highlighting carved feathers with deep taupe paint.
Tips and Variations
- Tip: Always use battery-powered LED tea lights; real flame candles generate heat that can scorch or crack unbaked air dry clay.
- Variation – Glazed Eyes: Paint only the large eye discs in a glossy emerald green or deep amber, leaving the rest of the body matte.
- Variation – Barn Owl Heart Face: Smooth the facial disc into a distinctive heart shape to create an elegant barn owl silhouette.
12. Celestial Crescent Moon Perched Nightingales
Introduction
Celestial decor blends celestial motifs with nature. This dreamy sculpture features an ethereal nightingale perched securely along the curve of a shimmering crescent moon, creating a magical decorative piece for bookshelves, altars, or bed headboards.
What This Idea Means
The nightingale is celebrated for its midnight song, making it a natural match for the crescent moon. This design pairs the smooth arch of the moon with the detailed feathers of the bird, bringing an enchanting, fairy-tale mood to your space.
How to Make It
- Sculpting the Crescent Moon: Roll a thick snake of clay, taper both ends, and curve it into a crescent moon shape. Flatten the sides so it can stand or hang stably.
- Sculpting the Perched Nightingale: Sculpt a small, slender nightingale with delicate wings, a perky tail, and tiny folded feet designed to clutch the curve of the moon.
- Joining Components: Score the contact points on both the bird’s feet and the moon surface, apply clay slip (clay mixed with water into paste), and firmly join the two pieces together.
- Celestial Detailing: Stamp miniature stars and constellations onto the moon’s surface with a pointed tool.
- Painting & Luster: Once fully dry, paint the moon with rich midnight blue or shimmering pearlescent white, and accent the stars with gold leaf.
Tips and Variations
- Tip: Reinforce the join between the bird and the moon with a hidden toothpick or thin wire armature inside the clay.
- Variation – Sun & Moon Duo: Sculpt a complementary companion piece featuring a daytime swallow resting against a radiant golden sunburst.
- Variation – Hanging Suncatcher: Add a glass prism teardrop dangling from the lower tip of the crescent moon to catch morning sunlight.
13. Rustic Bark-Textured Woodland Robins
Introduction
Bring the textures of the forest floor indoors with bark-textured woodland robins. These earthy sculptures combine organic woodgrain impressions with the cheerful, instantly recognizable shape of a European or American robin.
What This Idea Means
This project emphasizes tactile realism and rustic, natural materials. By imprinting natural tree bark and pinecone scales directly onto the raw clay, the finished bird looks as if it emerged straight from an enchanted woodland.
How to Make It
- Forming the Robin: Shape a round, plump robin body with a puffed-out chest and a proud, upright tail.
- Imprinting Bark Texture: Collect a clean piece of rough tree bark (such as oak, cedar, or pine) and press it firmly into the sides and back of the clay bird to transfer natural woodgrain textures.
- Chest Smoothing: Leave the puffed chest completely smooth to provide a clean contrast against the rough bark wings.
- Drying & Shading: Dry for 48 hours. Paint the back and wings in deep woodland browns and mossy greens. Paint the chest in an earthy burnt orange or brick terracotta tone.
- Washing Technique: Apply a dark walnut wash over the bark textures, wiping the high points with a rag so the dark paint settles deep into the ridges.
Tips and Variations
- Tip: Clean outdoor bark thoroughly with an old toothbrush before pressing it into your clay to avoid embedding dirt or moisture.
- Variation – Moss Accents: Glue tiny clusters of preserved real reindeer moss around the base or tail for a forest diorama look.
- Variation – Real Twig Perch: Sculpt the robin with a groove underneath and glue it to a real weathered forest twig once dried.
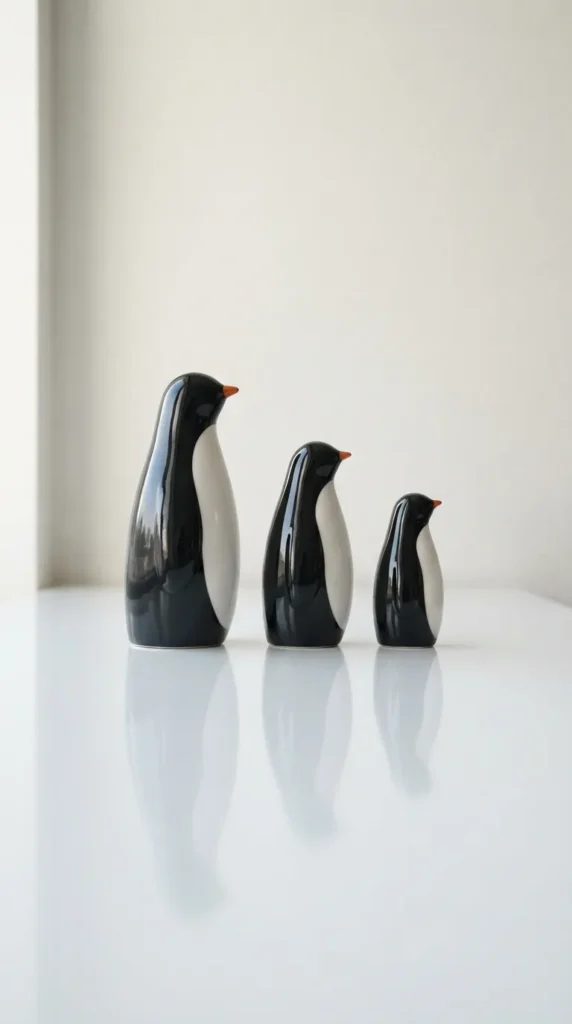
14. Glossy Modernist Penguin Mini Figurine Set
Introduction
Penguins offer a clean, high-contrast black-and-white color palette that naturally suits modern interiors. This set of minimalist, egg-shaped penguin figurines balances playful charm with sleek, high-gloss contemporary design.
What This Idea Means
By reducing the penguin’s body to an egg-like teardrop and exaggerating its smooth posture, this project delivers an upscale designer toy look. The high-contrast tuxedo colors and glossy enamel-like finish elevate the simple shape into chic art.
How to Make It
- Egg Body Form: Roll smooth, flawless teardrop egg shapes in three graduated heights (large, medium, small).
- Subtle Flappers: Pinch two small, flat, aerodynamic flippers along the sides, keeping them tucked tightly against the body.
- Flat Standing Base: Tap the bottom of each egg gently against a flat table to create a stable resting base.
- Smoothing & Curing: Smooth with water until completely seamless. Dry for 72 hours.
- Sharp Masking & Painting: Use painter’s tape to mask off a clean white oval belly. Paint the back, head, and flippers in deep jet black. Add a tiny yellow-orange beak dot.
- High-Gloss Sealing: Apply three thick coats of high-gloss crystal clear glaze for a gleaming ceramic look.
Tips and Variations
- Tip: Apply multiple thin coats of gloss varnish rather than one thick layer to avoid drips and cloudy spots.
- Variation – Emperor Penguin Collar: Add a soft yellow and orange gradient blending around the neck and cheeks.
- Variation – Pastel Penguins: Replace jet black with contemporary pastel shades such as powder blue, lilac, or charcoal grey.

15. Botanical Herb Nesting Bowls with Bird Perch
Introduction
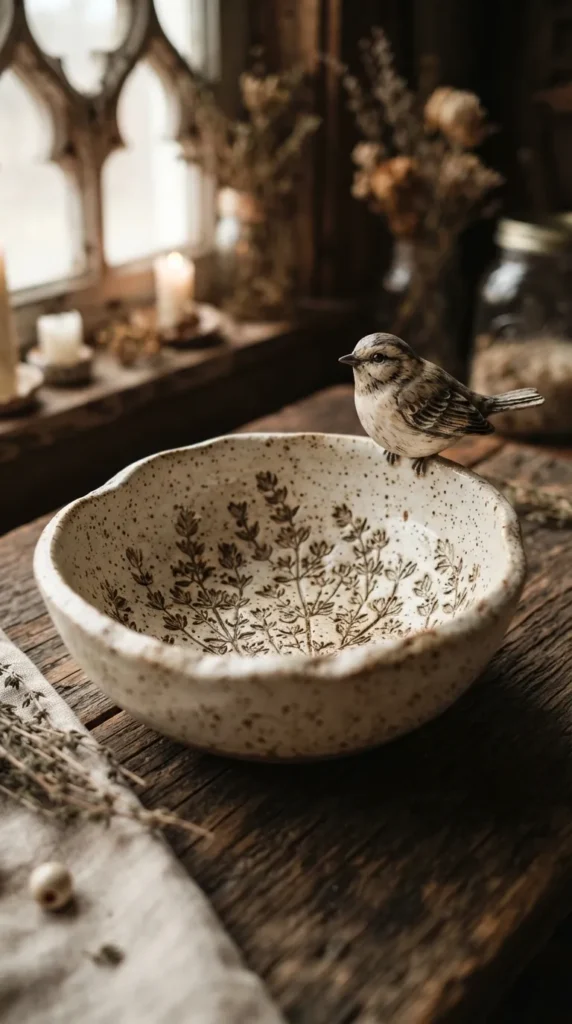
A nesting bowl topped with a sculpted bird perching on the rim serves as a stylish salt cellar, jewelry holder, or key catchall. The design blends functional shallow pottery with organic sculpture.
What This Idea Means
This project turns standard tableware into an artistic statement. The functional bowl serves as an organic nest, while a tiny bird perched on the outer lip brings a playful, interactive focal point to the piece.
How to Make It
- Pinching the Nest Bowl: Form a wide, shallow bowl using the pinch-pot technique or by draping an evenly rolled clay slab over an existing ceramic bowl.
- Botanical Imprint Base: Stamp real rosemary needles, thyme sprigs, or sage leaves into the interior bottom of the bowl.
- Sculpting the Perched Bird: Sculpt a miniature songbird in an active, perky stance with its head tilted downward toward the bowl.
- Attaching to the Rim: Score and slip the bird’s feet, then weld them securely onto the upper rim of the bowl. Reinforce the joint underneath with a small coil of clay.
- Curing & Sealing: Dry slowly over 4 days. Paint the interior in a glossy cream glaze and the exterior in unglazed earthy stoneware washes.
Tips and Variations
- Tip: Dry the bowl upside down over its mold for the first 24 hours so the rim maintains its structural roundness without warping.
- Variation – Two Birds in Conversation: Place two small birds perched opposite each other across the rim.
- Variation – Speckled Robin Eggs: Sculpt three miniature speckled clay eggs glued inside the base of the nest bowl.
16. Mediterranean Terracotta Painted Swallow Wall Swarm
Introduction
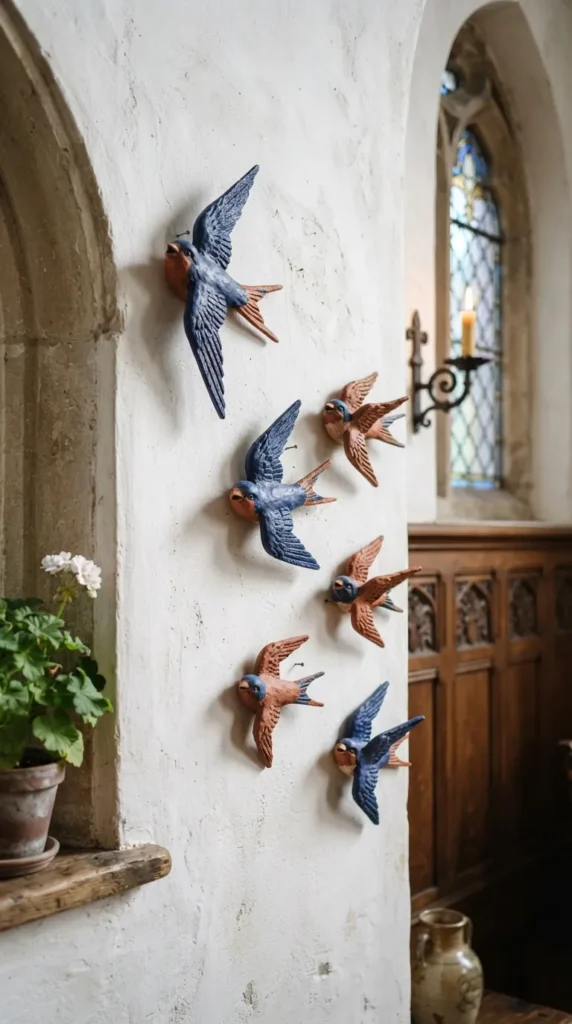
Swallows migrating across a living room or entryway wall bring movement, rhythm, and Mediterranean charm to your home. Sculpted with flat backs and dynamic flying wing angles, these swallows can be mounted in flowing organic patterns.
What This Idea Means
A wall swarm installation brings dynamic movement to flat indoor surfaces. Sculpting 5 to 9 swallows in varying sizes and flight angles creates an eye-catching statement wall inspired by coastal Italian and Portuguese homes.
How to Make It
- Template Cutting: Cut paper templates of swallows in different flight poses: wings spread, banking left, and diving.
- Slab Construction: Roll out clay to a sturdy 7mm thickness and cut out the swallow shapes.
- Angling the Wings: While the clay is soft, place the swallows over crumpled aluminum foil to dry with their wings gently curved upward in lifelike flight poses.
- Mounting Recess: Press a small metal sawtooth picture hanger into the back of each wet swallow body, securing it with a thin strip of clay over the bracket.
- Mediterranean Painting: Dry thoroughly. Paint in authentic Mediterranean cobalt blue with terracotta underbellies and white tail tips. Seal with an outdoor-grade satin finish.
Tips and Variations
- Tip: Ensure the back surface of each bird stays completely flat where the hanger rests so it sits flush against your wall.
- Variation – Pure White Minimalist Swarm: Leave all swallows unpainted in matte white for a subtle, modern gallery aesthetic.
- Variation – Gold Leaf Flight: Apply genuine gold leaf sheets across the wing edges to reflect ambient room lighting.
17. Delicate Boho Bird Essential Oil Diffuser Discs
Introduction
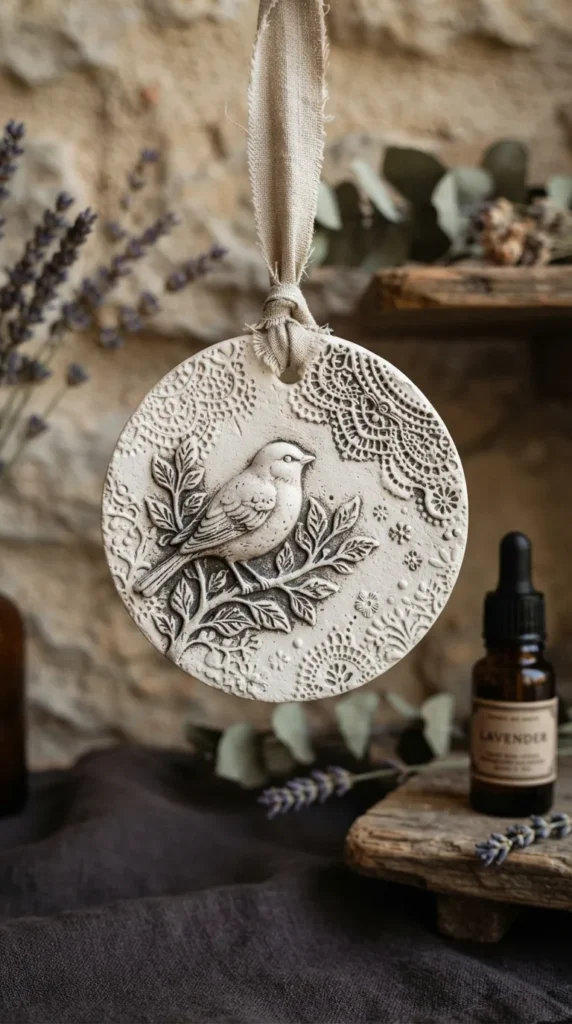
Air dry clay is naturally porous when left unsealed, making it an excellent natural diffuser for aromatherapy essential oils. These textured round clay discs feature raised relief bird motifs that slowly disperse calming scents across wardrobes, cars, or bedside tables.
What This Idea Means
This project blends functional wellness with delicate decorative craft. By leaving specific raised bird elements unglazed, drops of lavender, eucalyptus, or cedarwood essential oils absorb directly into the clay, gently releasing scent over several days.
How to Make It
- Cutting Clay Medallions: Roll an 8mm thick slab of white air dry clay. Cut out round circles using a round cookie cutter or wide drinking glass.
- Relief Bird Sculpting: Roll a small piece of clay and sculpt a tiny bird in flat profile. Score, wet, and press the bird silhouette onto the center of the medallion disc.
- Adding Border Details: Stamp delicate lace borders, stars, or beaded dots around the rim of the medallion. Punch a hole at the top for a ribbon.
- Curing: Dry for 48 hours on a flat mesh drying screen.
- Selective Painting: Paint only the background in soft matte pastel, leaving the raised sculpted bird in its raw, porous clay state.
- Use: Thread a natural linen ribbon through the hole and apply 3–4 drops of pure essential oil onto the raw bird relief.
Tips and Variations
- Tip: Do not apply varnish or waterproof sealer over the diffuser area; sealants close the clay pores and prevent oil absorption.
- Variation – Botanical Garland: Make five smaller discs strung along a horizontal jute garland to hang over a bed or doorway.
- Variation – Terracotta Aroma Stones: Use terracotta clay for rich natural rust color and excellent oil absorption.
18. Whimsical Long-Legged Nordic Standing Birds
Introduction
With their playful silhouettes, rounded pebble bodies, and slender metal legs anchored into natural wooden blocks, these Nordic standing birds bring personality, height variation, and modern Scandinavian charm to mantelpieces and consoles.
What This Idea Means
Combining earthy clay with clean wire and natural wood creates dynamic mixed-media decor. The exaggerated contrast between the chunky, plump body and the tall, delicate legs gives these birds a modern, lighthearted presence.
How to Make It
- Shaping the Pebble Body: Sculpt a smooth, rounded egg or pebble-shaped bird body with an upturned beak.
- Leg Wire Sockets: Cut two 10cm pieces of stiff 2mm galvanized steel or copper wire for the legs. Poke the wires into the bottom of the wet clay body to create deep insertion channels, then pull them out before drying.
- Preparing the Wood Base: Drill two matching holes into a small, sanded cube of reclaimed oak, pine, or driftwood.
- Drying & Finishing Clay: Dry the clay body for 48 hours. Sand smooth and paint with Nordic gray, sage, or soft ochre chalk paint.
- Final Assembly: Insert the wire legs into the body and wooden base with strong epoxy glue to secure the standing figurine.
Tips and Variations
- Tip: Ensure the wire holes are aligned straight; angled leg holes will cause the bird to balance unevenly once mounted.
- Variation – Beaded Legs: Thread colorful wooden spacer beads onto the wire legs before securing them into the wooden base.
- Variation – Copper Crown: Sculpt a tiny three-pointed golden clay crown on top of the bird’s head for a regal touch.
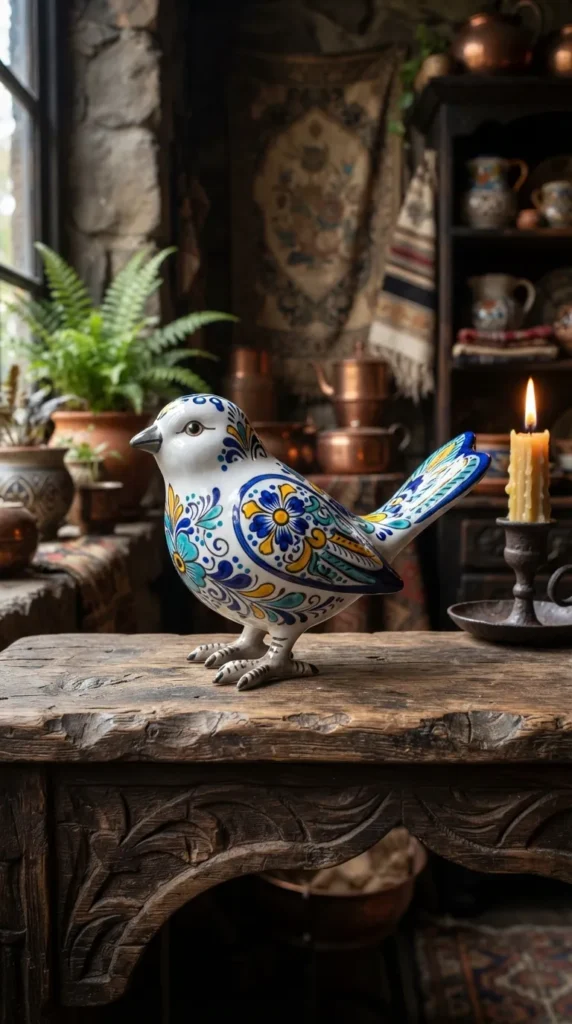
19. Folkloric Talavera Style Floral Perched Finches
Introduction
Inspired by the world-famous Mexican ceramic traditions of Puebla, these Talavera-style finches feature bold symmetrical floral motifs, rich royal blue flourishes, and bright sunny yellow highlights painted against a crisp white enamel base.
What This Idea Means
Talavera art is known for its joyful, elaborate floral brushwork, rich contrast, and celebratory character. This project brings historical ceramic craftsmanship into air dry clay through intricate hand painting.
How to Make It
- Classic Finch Sculpting: Sculpt a perky finch with folded wings, a rounded belly, and a slightly open beak in a calling posture.
- Ultra-Smooth Base: Smooth the clay thoroughly with a damp sponge. Let dry for 72 hours until solid.
- Opaque White Base Coat: Paint two generous layers of opaque titanium white acrylic paint to replicate a traditional tin-glazed ceramic background.
- Talavera Patterning: Using ultra-fine detail paint brushes, paint classic Talavera patterns: deep cobalt blue petals, sunny yellow centers, vivid orange dots, and vibrant turquoise leafy scrolls across the wings and tail feathers.
- High-Gloss Sealing: Apply three generous coats of clear gloss polyurethane glaze to achieve the signature brilliant shine of fired Mexican pottery.
Tips and Variations
- Tip: Sketch your intricate floral patterns lightly with a soft graphite pencil before applying acrylic paint to keep designs balanced and symmetrical.
- Variation – Green & Black Majolica: Use an emerald green and deep black color scheme to mimic traditional Spanish and Portuguese Majolica pottery.
- Variation – Perched on a Lemon: Sculpt the finch resting atop a bright yellow clay lemon base for an authentic Mediterranean table accent.
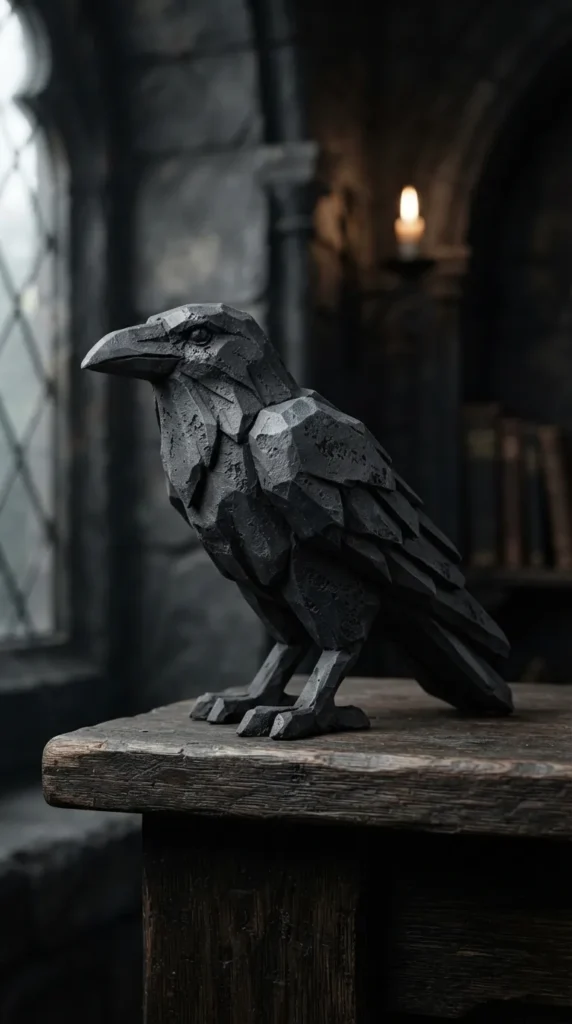
20. Sculptural Brutalist Textured Stoneware Ravens
Introduction
Brutalism and rough modernism celebrate raw, unpolished textures, dramatic geometric shadows, and powerful silhouettes. These textured ravens showcase deep charcoal tones, chiseled surfaces, and dramatic wing profiles, offering a bold statement piece for modern and moody industrial spaces.
What This Idea Means
Moving away from cute or delicate aesthetics, this raven project focuses on bold presence, dramatic angular planes, and deep tactile carving. It embraces an imposing, regal silhouette that looks like carved volcanic stone or cast cast-iron metal.
How to Make It
- Heavy Silhouette Sculpting: Sculpt an upright, commanding raven silhouette featuring a heavy, sharp beak, broad shoulders, and elongated sweeping wings.
- Surface Distressing: Use coarse wire brushes, crinkled aluminum foil balls, and serrated clay scrapers to gouge deep, stone-like pitted textures across the entire clay surface.
- Carving Wing Planes: Chisel deep, clean geometric channels representing heavy flight feathers.
- Drying: Allow this thicker sculpture to dry slowly for 4 to 5 days in a temperature-stable room.
- Matte Charcoal Finish: Paint with ultra-matte carbon black acrylic paint mixed with a spoonful of baking soda for an ultra-flat stone texture. Dry-brush lightly with slate gray on the high ridges to accentuate the deep carved shadows.
Tips and Variations
- Tip: Thicker sculptures need slow, gradual drying away from direct sunlight to prevent core shrinkage cracking.
- Variation – Cast Iron Metallic: Rub metallic graphite powder or dark pewter wax over the textured black base to mimic heavy antique cast iron.
- Variation – Perched on a Crystal: Sculpt the raven with claws gripping the top of a natural raw quartz or amethyst crystal geode.
Essential Materials and Clay Handling Techniques
Essential Tool Kit
- Quality Air Dry Clay: Premium mineral-based white or terracotta air dry clay.
- Rolling Tools: Non-porous acrylic rolling pin with silicone thickness guide rings (3mm, 5mm, 8mm).
- Carving & Modeling Tools: Wooden styluses, silicone-tipped smoothing brushes, craft scalpels, and loop trimming tools.
- Abrasives: Fine and ultra-fine grit sanding pads (240-grit, 400-grit, and 800-grit).
- Finishing Media: Artist-grade acrylic paints, gouache, liquid gold leaf, mica powders, matte sealers, and high-gloss polyurethane glaze.
Crucial Drying & Sealing Best Practices
- Uniform Thickness: Keep clay thickness consistent across your piece. Rapid changes in thickness can cause uneven drying and surface cracks.
- Slow Drying Environment: Always dry clay projects away from direct sunlight, heating vents, or hair dryers. Slow, even moisture loss prevents warping and curling.
- Repairing Cracks: If hairline cracks appear during drying, make a smooth paste (clay slip) by mixing scrap clay with a few drops of water. Press the paste into the fissure, smooth it flat with a silicone tool, and let dry before sanding.
- Moisture Sealing: Air dry clay remains sensitive to moisture even after drying. Always protect finished pieces with at least two coats of high-quality matte, satin, or gloss sealer.