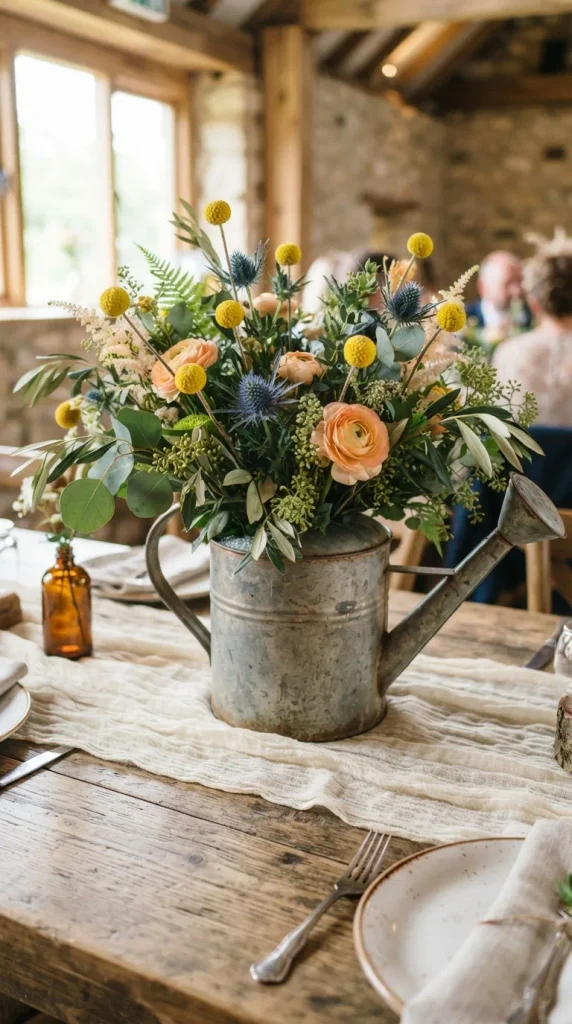
Leaning heavily into authentic western heritage, vintage galvanized watering cans make wonderfully unexpected vessels for sprawling floral installations. The contrast between industrial metal and delicate, wind-swept petals captures the adventurous spirit of the frontier.
Materials Needed
- 1 vintage galvanized metal watering can with a long spout
- Chicken wire or floral frog pin holders
- 12 stems of yellow craspedia
- 10 stems of blue thistle (eryngium)
- 2 bunches of fresh wheatgrass or maiden grass
- 8 stems of peach ranunculus
- Jute twine wrapped around the watering can handle
Step-by-Step Assembly Instructions
- Clean the vintage watering can thoroughly and place a crumpled ball of chicken wire inside the top opening to act as a mechanics grid for your stems.
- Wrap a length of rustic jute twine tightly around the metal handle, securing the ends with a dab of hot glue hidden underneath.
- Build the foundational structure by inserting tall stalks of maiden grass into the back of the watering can opening, allowing them to fan out dramatically.
- Add the blue thistle and yellow craspedia stems, creating a playful contrast of electric blue and sunny gold against the metallic grey of the can.
- Nestle the peach ranunculus blooms closer to the rim of the watering can, letting a few shorter stems tumble gracefully out of the side spout as if water were pouring forth.
- Wipe down any moisture on the outside of the metal can and set it atop a folded gauze cheesecloth runner.
Tips and Variations
- Tip: Ensure the watering can is watertight before assembling, or place a hidden plastic cup inside the main cavity to hold your water and floral foam.
- Variation: Paint the watering can in a matte pastel sage or dusty rose hue for a softer, modernized take on western rustic styling.
5. The Turquoise and Succulent Terrarium Ring