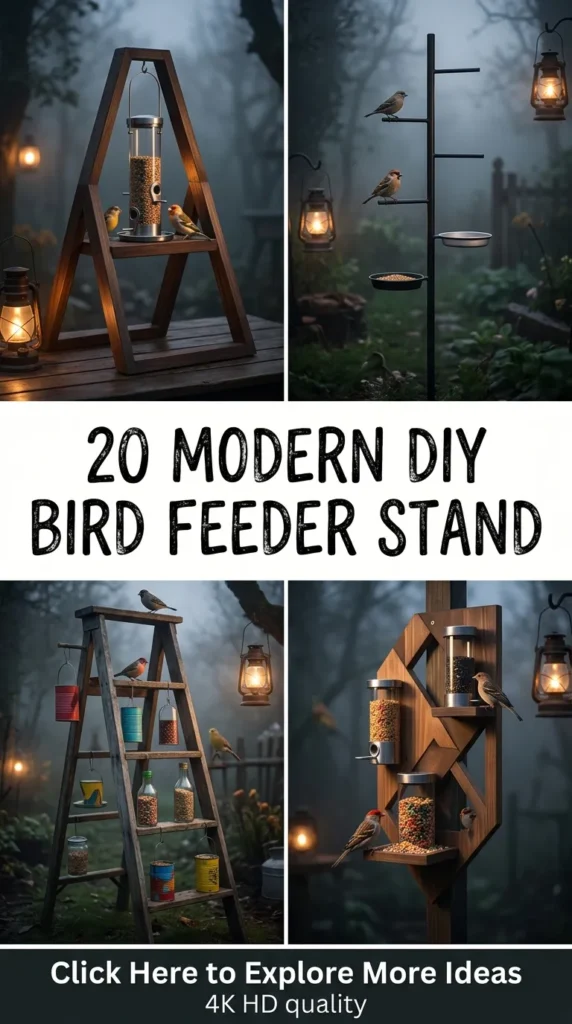
Transforming your outdoor space into a sanctuary for local wildlife doesn’t mean sacrificing contemporary design. Traditional wooden birdhouses and flimsy plastic poles often clash with sleek, modern architectural landscaping. Enter the world of modern DIY bird feeder stands—where clean lines, premium materials like steel, copper, and rich hardwoods, and ingenious structural engineering merge to create functional backyard art. Whether you want to attract colorful songbirds to a minimalist urban patio or create a striking focal point in a sprawling backyard, these 20 modern DIY bird feeder stand ideas offer the ultimate inspiration. Complete with material lists, step-by-step construction guides, and stunning visual concepts, this guide will help you craft a stylish feeding station that birds and design enthusiasts alike will adore.
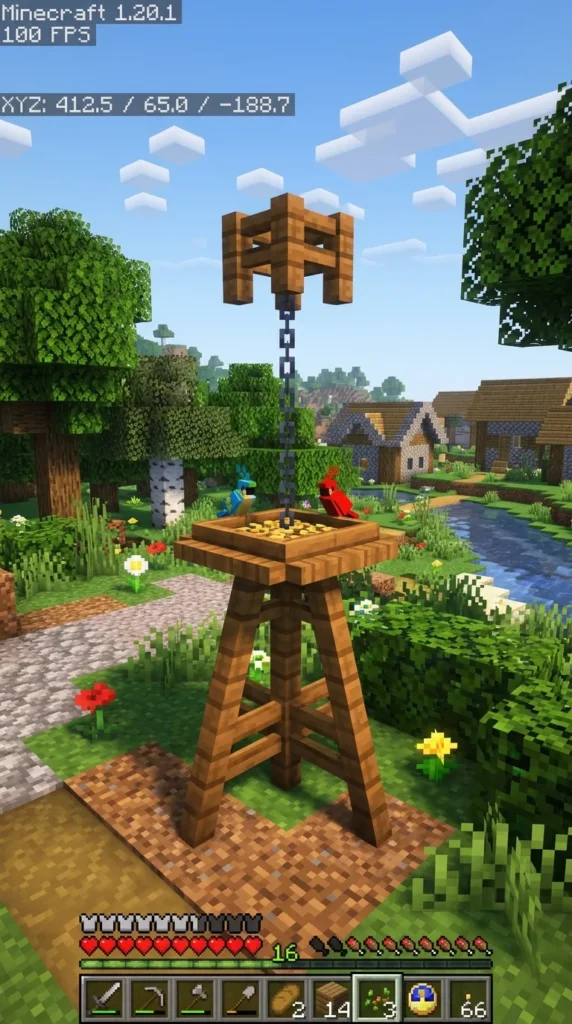



1. Minimalist Black Metal Rod Stand
Introduction
Simplicity is the ultimate sophistication. The minimalist black metal rod stand delivers a sleek, nearly invisible silhouette that lets your feathered visitors take center stage while adding a touch of industrial chic to your garden beds.
What This Idea Means
This design focuses on reduction and clean visual lines. By using a single, heavy-duty matte black steel rod anchored securely into the ground or a concrete footer, the stand practically vanishes from a distance, making your hanging feeders appear as though they are floating in mid-air.
How to Make It
- Materials Needed: One 8-foot half-inch solid steel rebar or hot-rolled steel rod, matte black metal spray paint or primer, a post-hole digger, fast-setting concrete mix, and a heavy-duty metal hook or bracket.
- Step-by-Step Construction:
- Clean the steel rod thoroughly with acetone to remove any manufacturing oils, then apply two coats of rust-resistant matte black spray paint. Let it dry completely.
- Dig a hole approximately 2 feet deep in your chosen garden location to ensure stability against wind and heavy bird activity.
- Insert the bottom 2 feet of the rod into the hole and pour fast-setting concrete around it, checking with a level to ensure the pole stands perfectly plumb.
- Allow the concrete to cure for 24 hours. Bend the top 6 inches of the steel rod into a graceful curve using a heavy vise and torch if necessary, or weld a custom curved hook onto the top. Hang your favorite geometric glass or metal feeder from the end.
Tips and Variations
Use a thicker three-quarter-inch steel rod if you plan on hanging multiple heavy-duty filled seed cylinders or suet cages to prevent swaying.
2. Geometric Wooden Prism Stand
Introduction
Playing with sharp angles and architectural shapes, the geometric wooden prism stand transforms a standard feeding station into a striking piece of modern art that stands out even during winter months.
What This Idea Means
This concept draws heavy inspiration from modern geometric architecture and Scandinavian interior design. It uses triangular framing to distribute weight evenly while providing a dynamic, multi-dimensional visual profile outdoors.
How to Make It
- Materials Needed: Six 6-foot cedar or redwood boards (2×2 inches), wood screws, exterior wood glue, a miter saw, outdoor clear wood sealer, and a heavy-duty ceiling hook.
- Step-by-Step Construction:
- Cut your wood boards at precise 30-degree and 60-degree angles using a miter saw to form interlocking triangular frames.
- Assemble two large equilateral triangles using exterior wood glue and pocket-hole screws driven from the inside to keep exterior surfaces clean.
- Connect the two triangles at their base and apex using horizontal cross-bracing struts to create a stable three-dimensional tetrahedral tripod tower.
- Mount a heavy-duty ceiling hook directly into the top interior apex of the prism structure. Suspend your modern glass tube feeder right in the center. Apply two coats of exterior wood sealer.
Tips and Variations
Integrate a low-profile concrete anchor base at the bottom feet of the prism to anchor it securely into lawn turf or gravel garden beds.
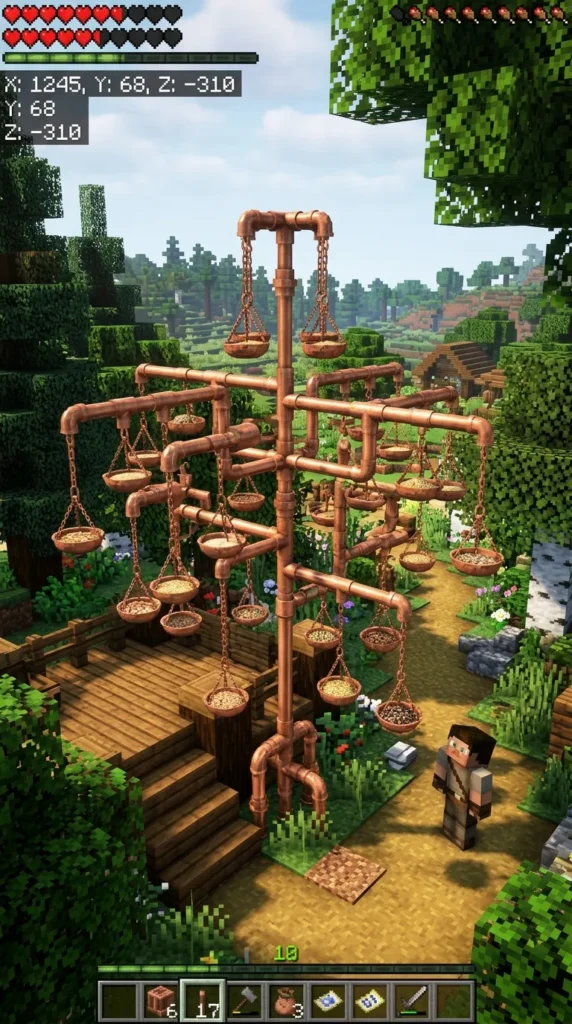
3. Industrial Copper Pipe Tree Stand
Introduction
Combining plumbing utility with modern metallic luxury, the industrial copper pipe tree stand introduces warm metallic tones and branching arms that mimic organic growth with manufactured precision.
What This Idea Means
This aesthetic celebrates raw industrial materials polished to a warm, inviting shine. Over time, the copper develops a gorgeous natural patina, blending modern manufacturing with organic weathering processes in your garden.
How to Make It
- Materials Needed: Various lengths of half-inch copper pipes, copper T-joints, elbow joints, copper end caps, copper pipe cutter, propane torch, lead-free solder, flux, and a heavy cast-iron floor flange.
- Step-by-Step Construction:
- Plan your tree structure on paper, featuring a central vertical trunk and three branching side arms of varying heights using copper T-joints and elbow joints.
- Cut your copper pipes to desired lengths using a pipe cutter. Clean all connection ends with emery cloth.
- Apply flux to the pipe ends, insert them into the fittings, and heat the joints with a propane torch until the lead-free solder melts smoothly into the seams.
- Screw the bottom vertical pipe securely into a heavy cast-iron floor flange. Bolt the flange to a heavy square concrete paver stone to create a stable, freestanding base for patio placement. Hang copper dish feeders from the pipe ends.
Tips and Variations
Leave the copper unsealed to let it weather naturally into a turquoise patina, or apply a clear metal lacquer if you prefer to maintain its bright, shiny finish indefinitely.
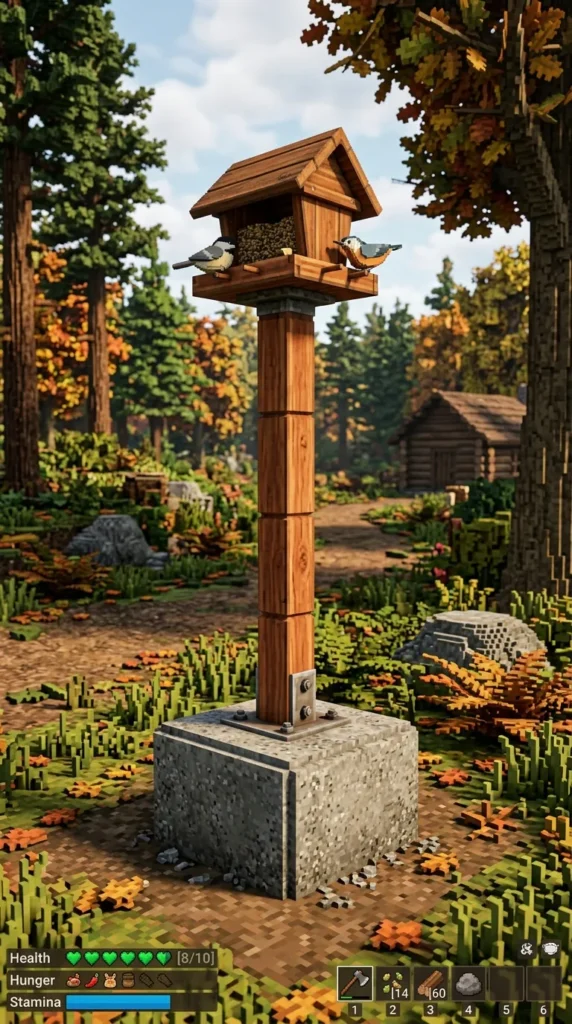
4. Sleek Concrete Base Wooden Post Stand
Introduction
Anchored by a poured concrete base and topped with a warm cedar post, this design bridges brutalist modern architecture with natural organic warmth.
What This Idea Means
This style highlights contrasting textures: the smooth, cold industrial finish of raw concrete paired with the warm, tactile grain of natural wood. It provides ultimate stability without requiring deep ground excavation.
How to Make It
- Materials Needed: One 4×4 inch cedar post (8 feet tall), a melamine board mold for casting a concrete base (approx. 16x16x6 inches), high-strength concrete mix, metal post anchor bracket, concrete sealer, and hanging hardware.
- Step-by-Step Construction:
- Construct a square wooden mold out of melamine boards. Coat the interior with vegetable oil for easy release.
- Mix your high-strength concrete and pour it into the mold, embedding a heavy metal post anchor bracket flush into the top center before the concrete sets.
- Allow the concrete block to cure for 48 hours, then remove the mold and apply a concrete densifier and sealer.
- Bolt your 4×4 cedar post securely into the embedded bracket on top of the concrete block. Attach a modern horizontal steel arm to the top of the post and hang your feeder.
Tips and Variations
Embed small smooth stones or colored glass fragments into the top surface of the concrete base while wet for a subtle terrazzo modern accent.
5. Mid-Century Modern Teak Tripod Stand
Introduction
Channeling iconic 1950s furniture design, the mid-century modern teak tripod stand brings clean tapered lines and retro elegance to backyard bird watching.
What This Idea Means
This aesthetic values functional elegance, tapered organic silhouettes, and premium hardwoods. It elevates the bird feeder from a utility object into a sophisticated landscape sculpture.
How to Make It
- Materials Needed: Three 7-foot teak or hardwood poles (tapered if possible), a heavy-duty triangular metal top connector bracket, exterior wood oil, stainless steel hardware, and a hanging tray feeder.
- Step-by-Step Construction:
- Sand your three teak poles down to a smooth finish and treat them generously with teak oil to protect against moisture and UV rays.
- Insert the top ends of the three poles into a custom triangular metal spider bracket designed to hold tripod legs at a stable 15-degree outward angle.
- Tighten all bolts securely so the tripod stands firmly on level ground, adjusting the spread of the legs for optimal balance.
- Suspend a modern minimalist wooden hopper or platform feeder from a heavy-duty center eye-bolt attached underneath the top bracket.
Tips and Variations
Add rubber crutch tips or stainless steel spike shoes to the bottom of each leg depending on whether you are placing the stand on a wooden deck or soft lawn turf.
6. Hanging Macrame and Wood Dowel Stand
Introduction
Softening harsh outdoor lines with artisanal textile art, the hanging macrame and wood dowel stand offers a bohemian modern aesthetic that moves gracefully with the garden breeze.
What This Idea Means
This concept embraces handcrafted textures, minimalist boho-chic styling, and organic balance. It frames your bird feeder within a delicate network of knotted cotton cords suspended from a structural wooden arch.
How to Make It
- Materials Needed: Two sturdy curved birch branches or a bent laminated wood arch, heavy-duty twisted cotton macrame cord (4mm), stainless steel eye-bolts, a concrete anchor pot, and a ceramic or wooden bowl feeder.
- Step-by-Step Construction:
- Secure a tall wooden or metal arch frame into a heavy outdoor planter filled with soil and topped with decorative white stones for stability.
- Tie complex square knots and spiral patterns using your macrame cord around a wooden ring to create a secure hanging basket net.
- Place a wide, shallow ceramic bowl feeder inside the macrame holder, ensuring the weight is distributed evenly across all cords.
- Hang the entire macrame assembly from the peak of your wooden arch frame, adjusting the height for easy refilling.
Tips and Variations
Use natural unbleached cotton cord for an earthy look, or try muted sage green and terracotta-colored cords to complement your garden’s color scheme.
7. Scandinavian Birch Branch Minimal Stand
Introduction
Embracing the simplicity of Nordic nature, the Scandinavian birch branch stand utilizes clean white bark and minimalist geometric stabilization to create an effortlessly chic feeding station.
What This Idea Means
This style honors lagom—the Swedish concept of “just the right amount.” It avoids clutter, highlighting the pristine natural beauty of birch wood contrasted against minimalist metal bases.
How to Make It
- Materials Needed: One thick, straight dried birch log (about 3 inches in diameter and 7 feet tall), a custom welded steel floor plate with a vertical mounting spike, wood sealer, and small hanging hooks.
- Step-by-Step Construction:
- Seal the birch log completely with a clear matte exterior polyurethane spray to preserve the delicate white bark and prevent rotting.
- Fabricate or purchase a heavy flat steel base plate equipped with a sturdy 6-inch vertical steel spike welded in the center.
- Drill a matching pilot hole into the bottom end of the birch log, then press the log firmly down onto the steel spike of the base plate.
- Screw sleek black metal cup hooks into the upper sides of the birch trunk and hang lightweight tubular seed feeders.
Tips and Variations
Group three birch logs of varying heights together on a single wide base plate to create a striking birch forest cluster feeder.


8. Geometric Metal Wire Frame Stand
Introduction
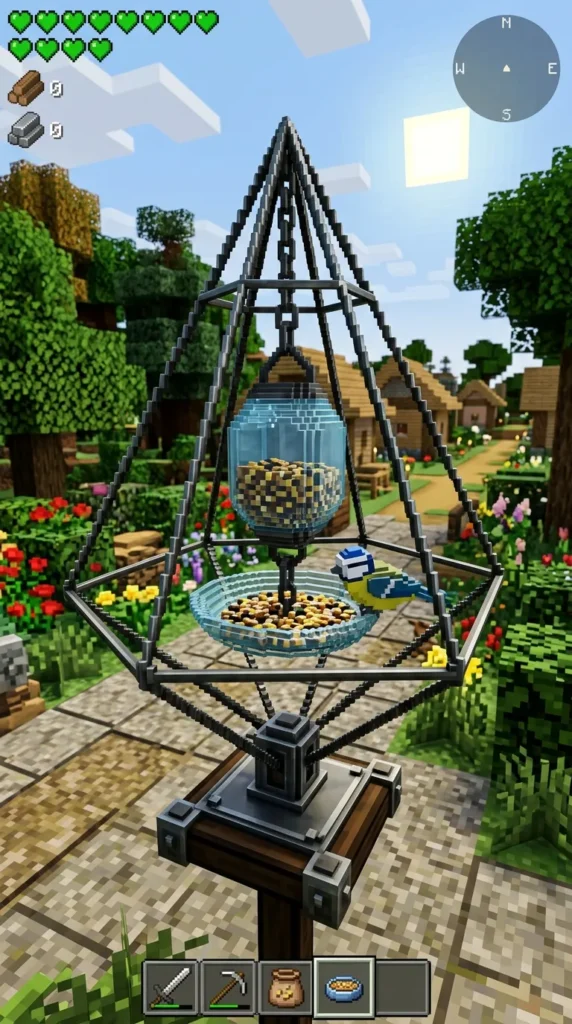
Architectural, transparent, and ultra-modern, the geometric metal wire frame stand uses intersecting steel rods to create a cage-like structure that frames both the feeder and the surrounding garden.
What This Idea Means
This design focuses on transparency and structural skeletonization. By replacing solid posts with open wire frameworks, the stand maintains an airy, lightweight visual footprint in compact outdoor spaces.
How to Make It
- Materials Needed: Quarter-inch steel wire rods, a wire bending jig or welding machine, matte white or charcoal gray spray paint, ground rebar stakes, and a central platform feeder.
- Step-by-Step Construction:
- Weld steel rods together into two large matching square-based pyramidal wire frames that taper toward the top.
- Join the two pyramids at their apexes or weld horizontal stabilizing cross-bars to form a rigid, open-work structural tower about 6 feet tall.
- Coat the entire wire frame in a durable powder coat or exterior matte spray paint.
- Secure the frame to the ground using concealed rebar stakes driven through the bottom corners into the soil. Suspend a modern glass saucer feeder right inside the center of the geometric cage.
Tips and Variations
Wrap warm white outdoor solar fairy lights around the metal wire frame to create a magical nighttime garden accent that illuminates visiting night-feeders or moths.
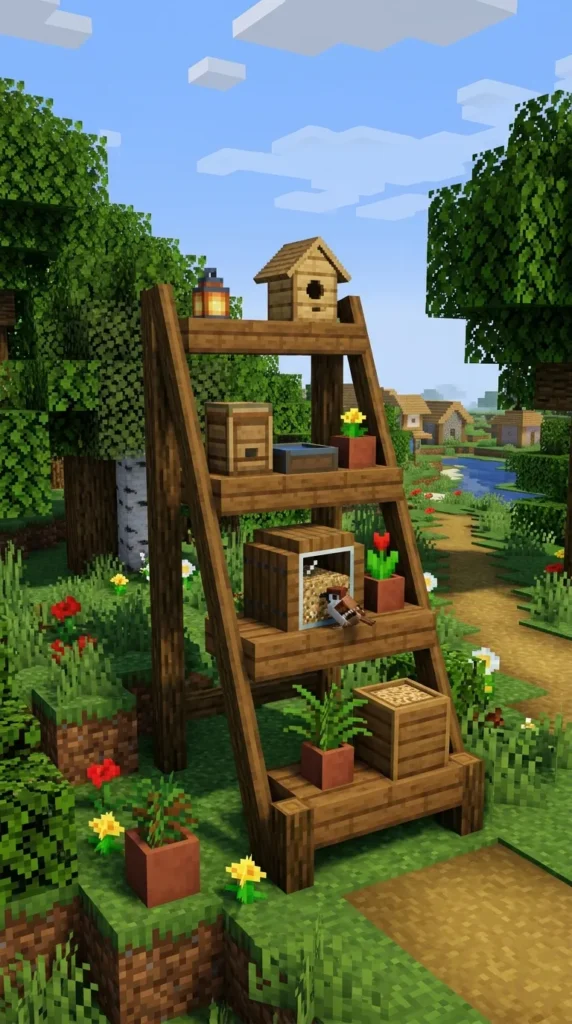
9. Upcycled Ladder Multi-Tier Bird Feeder Stand
Introduction
Repurposing vintage architectural elements into modern functional displays, the upcycled ladder stand creates a cascading multi-tier feeding station packed with rustic charm and vertical greenery.
What This Idea Means
This aesthetic champions sustainable design and clever upcycling. It takes a classic wooden or metal ladder and turns it into a tiered shelving unit where different types of bird food can be offered simultaneously.
How to Make It
- Materials Needed: An old wooden A-frame stepladder, exterior wood paint or stain, wide wooden planks cut to fit across the ladder steps, heavy-duty screws, and various platform and suet feeders.
- Step-by-Step Construction:
- Clean and sand down the vintage stepladder to remove splintered wood, then apply two protective coats of modern charcoal gray or soft sage green exterior paint.
- Open the ladder fully and lock the spreader braces securely in place on flat, level ground.
- Cut custom wooden shelf boards to bridge across corresponding steps on both sides of the ladder, screwing them securely into the steps.
- Place different feeding stations on each tier—suet cages on top, seed hopper boxes in the middle, and a ground-level water bath dish on the bottom step.
Tips and Variations
Place potted succulents and trailing ivy plants on the unoccupied ladder steps alongside the feeders to blend wildlife feeding with container gardening.
10. Modern Farmhouse Black Iron & Cedar Stand
Introduction
Merging rustic rural warmth with clean urban lines, the modern farmhouse black iron and cedar stand features a robust vertical timber post accented with matte black iron brackets and trim.
What This Idea Means
This popular design style balances cozy tradition with crisp, contemporary detailing. It uses rich golden cedar paired with stark black hardware to create an inviting, high-contrast focal point.
How to Make It
- Materials Needed: One 4×4 cedar post (8 feet), custom black powder-coated steel post cap and base bracket, two heavy-duty black iron hanging brackets, fast-setting concrete, and wood screws.
- Step-by-Step Construction:
- Dig a 2-foot post hole, set a black metal ground sleeve or post base anchor in concrete, and let it cure.
- Sand and seal your 4×4 cedar post with a UV-blocking clear exterior oil to preserve its rich golden tone.
- Bolt the cedar post securely into the base anchor, ensuring it is perfectly straight using a level.
- Mount two black iron hanging brackets near the top of the post on opposing sides. Hang classic copper-roofed cedar hopper feeders from each bracket.
Tips- and Variations
Add solar-powered post-cap lights to the top of the cedar post to illuminate the feeding station automatically every evening.
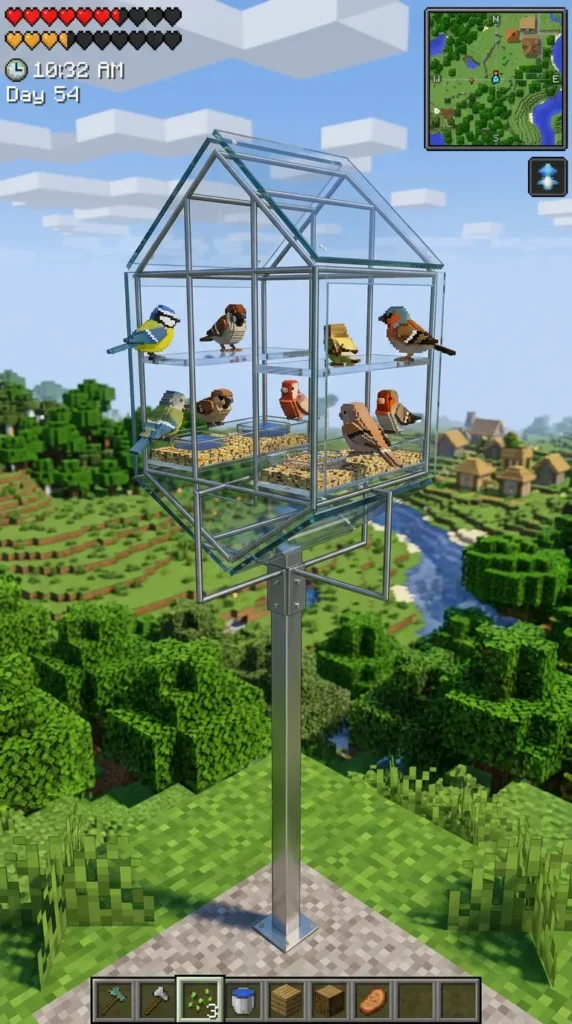
11. Floating Glass and Steel Rod Stand
Introduction
Ultra-sleek and gravity-defying, the floating glass and steel rod stand creates an optical illusion where bird feeders appear suspended on invisible glass shelves along a slender steel column.
What This Idea Means
This avant-garde design focuses on minimalism and dematerialization. By utilizing transparent acrylic or tempered glass shelves mounted to a slim central steel spine, visual clutter is entirely eliminated.
How to Make It
- Materials Needed: One square stainless steel tubing post (1×1 inch, 7 feet tall), thick tempered glass or clear acrylic shelf squares, stainless steel standoff brackets, heavy concrete ground anchor.
- Step-by-Step Construction:
- Anchor the stainless steel square tubing firmly into a heavy concealed concrete block or deep ground sleeve.
- Drill mounting holes into the steel tubing at staggered heights for the shelf standoff brackets.
- Attach the stainless steel standoff barrel screws securely to the steel post.
- Mount the thick acrylic or tempered glass shelves onto the standoffs and tighten the protective rubber-capped screws. Place dome-covered seed bowls directly on the clear floating shelves.
Tips and Variations
Ensure your glass or acrylic panels are rated for outdoor UV exposure and impact resistance to withstand visiting larger birds like jays or doves.
12. Tall Architectural Obelisk Feeder Stand
Introduction
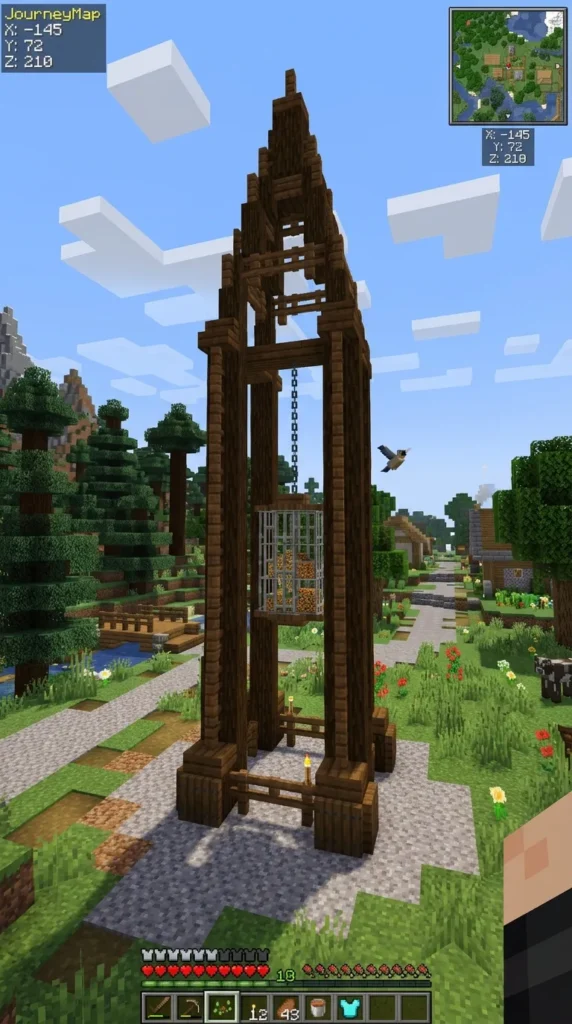
Drawing inspiration from classical garden architecture, the tall architectural obelisk feeder stand adds vertical grandeur and sculptural elegance to sprawling garden landscapes.
What This Idea Means
This concept introduces formal garden structure and height. The four-sided tapering obelisk design draws the eye upward, creating an impressive focal point that anchors surrounding flower beds.
How to Make It
- Materials Needed: Four tall cedar corner posts (2×2 inches, 7 feet), horizontal wooden slats for bracing, exterior wood glue, exterior screws, a miter saw, and a central hanging bracket at the apex.
- Step-by-Step Construction:
- Cut the four corner posts with matching compound angles at the top so they meet neatly in a pyramid peak when inclined slightly inward.
- Assemble the four sides on the ground by screwing horizontal ladder rungs between each pair of posts, making each section slightly narrower at the top.
- Join the four completed sides together into a rigid four-sided obelisk tower.
- Install a heavy-duty iron hanging hook inside the top apex peak. Secure the obelisk legs into the soil using heavy ground stakes driven into the bottom corners. Hang a large mesh platform feeder inside.
Tips and Variations
Plant climbing clematis or sweet pea flowers around the base of the obelisk legs so flowering vines naturally entwine up the wooden frame over the summer.
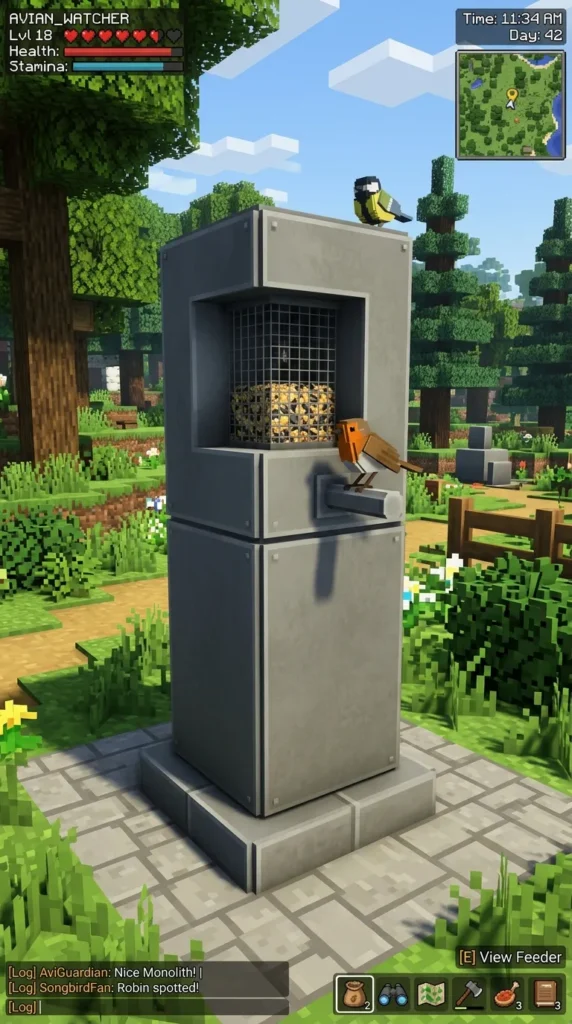
13. Matte Gray Steel Monolith Stand
Introduction
Industrial minimalism meets sculptural modern art in the matte gray steel monolith stand, featuring clean slab geometry and a sophisticated, understated urban color palette.
What This Idea Means
This design embraces brutalist and industrial modernist influences. It treats the feeding station as an architectural sculpture with solid planar surfaces rather than traditional posts and wires.
How to Make It
- Materials Needed: Sheet metal or wide hollow rectangular steel tubing (6×2 inches, 7 feet tall), industrial primer, charcoal gray matte metal paint, heavy internal rebar reinforcement, and concrete.
- Step-by-Step Construction:
- Fabricate or source a hollow rectangular steel column that is wide and flat like a modern architectural monolith pillar.
- Prime and paint the steel column in a sophisticated dark charcoal gray or industrial concrete gray matte finish.
- Pour a deep concrete foundation footing, embedding heavy rebar inside the footing that extends up into the hollow base of the steel column for ultimate wind resistance.
- Cut a recessed cutout notch near the top of the monolith column and mount a concealed steel arm from which a sleek black seed feeder hangs.
Tips and Variations
Engrave your house number or a subtle geometric pattern into the face of the steel monolith using a plasma cutter before painting for a personalized modern address marker hybrid.
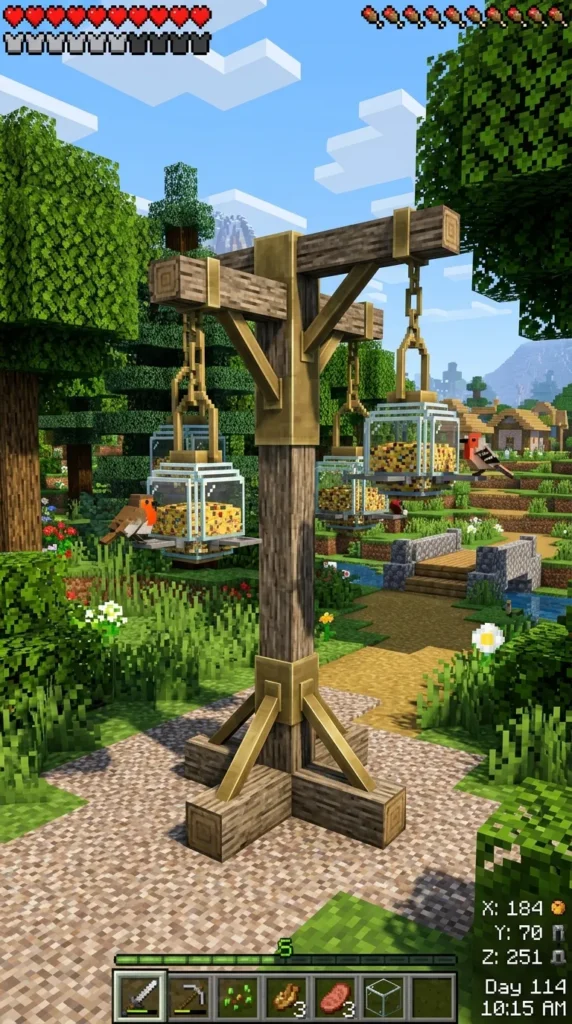
14. Asymmetrical Floating Shelf Wood Post Stand
Introduction
Breaking away from rigid symmetry, the asymmetrical floating shelf wood post stand offers a dynamic, contemporary arrangement of staggered feeding platforms branching out at various heights.
What This Idea Means
This style celebrates dynamic balance and modern asymmetry. Instead of hanging all feeders from a single top point, staggered cantilevered wooden shelves create a multi-level feeding highway for birds.
How to Make It
- Materials Needed: One thick pressure-treated wood post (4×6 inches, 7 feet tall), three thick hardwood shelf slabs, heavy-duty concealed steel blind shelf brackets, exterior wood stain, and mounting hardware.
- Step-by-Step Construction:
- Stain the thick wood post and shelf slabs in a rich walnut or ebony tone using an exterior wood finish.
- Mount concealed heavy-duty steel shelf brackets into pre-cut routing slots on the back of each wooden shelf and the front/sides of the main post.
- Install the shelves at staggered heights and opposing angles around the central post to create an organic, asymmetrical spiral effect.
- Secure the main post firmly into a heavy metal ground anchor or concrete footer. Place heavy ceramic or copper bird seed trays on each floating shelf.
Tips and Variations
Keep the top shelf reserved for suet cakes, the middle shelf for mixed seeds, and the bottom shelf for fresh water to prevent territorial crowding among visiting birds.




15. Brass Accent Minimalist Branch Stand
Introduction
Infusing subtle luxury into natural materials, the brass accent minimalist branch stand pairs organic weathered wood with gleaming brushed brass fixtures for an ultra-chic designer look.
What This Idea Means
This concept elevates rustic elements through high-end metallic detailing. The contrast between raw wood texture and polished warm brass creates an immediate sense of refined modern elegance.
How to Make It
- Materials Needed: A slender, gracefully curved natural tree branch (debarked and sealed), a custom-welded steel floor base finished in brushed brass spray, solid brass hooks, and copper wire.
- Step-by-Step Construction:
- Clean, sand, and seal your natural branch with clear matte polyurethane, ensuring all loose bark is removed.
- Fabricate a heavy steel floor base plate and weld a vertical brass-plated steel rod or tube adapter to it.
- Mount the branch securely onto the brass rod fixture, ensuring the weight is balanced over the base plate.
- Screw polished solid brass cup hooks into the underside of the branch limbs and hang delicate glass globe nectar and seed feeders.
Tips and Variations
Match the brass feeder hooks with small brass wind chimes hung nearby to add soothing auditory elements to your modern garden sanctuary.
16. Nordic A-Frame Wooden Stand
Introduction
Inspired by modern alpine architecture, the Nordic A-frame wooden stand features steep triangular rooflines and clean vertical slatting that protects bird seed while looking impeccably stylish.
What This Idea Means
This design honors minimalist alpine cabins and functional weather-shedding architecture. The sharp A-frame silhouette naturally deflects rain and snow while providing a cozy, sheltered feeding bay.
How to Make It
- Materials Needed: Cedar boards (1×4 and 1×2 inches), exterior wood glue, stainless steel brad nails, a miter saw, a clear waterproof wood sealer, and a sturdy wooden support post.
- Step-by-Step Construction:
- Cut cedar boards to form steep triangular gable frames for the roof and walls of the A-frame feeding house.
- Assemble the house with waterproof wood glue and stainless steel nails, leaving wide open glass or mesh viewing windows on the sides.
- Build a wide internal seed hopper reservoir that feeds seed downward onto a clean bottom tray.
- Mount the completed A-frame structure securely atop a sleek square cedar support post anchored firmly in the ground. Apply a clear matte exterior sealer.
Tips and Variations
Paint the exterior A-frame roof panels in a crisp matte black while leaving the structural wood posts natural for a striking modern two-tone aesthetic.
17. Clear Acrylic Transparent Rod Stand
Introduction
Designed to virtually disappear against green foliage, the clear acrylic transparent rod stand creates a magical floating effect where bird food and visiting birds appear suspended in open space.
What This Idea Means
This ultra-modern concept prioritizes absolute visual lightness. By eliminating opaque supporting posts, the design creates a seamless, unobstructed view of garden wildlife from any viewing angle.
How to Make It
- Materials Needed: Thick-walled extruded clear acrylic or polycarbonate tubes (2 inches in diameter, 6 feet tall), an internal solid steel reinforcing rod (for strength), a heavy stainless steel floor mount, and acrylic cement.
- Step-by-Step Construction:
- Insert a sturdy solid steel rebar rod inside the hollow clear acrylic tube to provide structural wind resistance without ruining transparency.
- Mount the bottom of the acrylic-and-steel assembly into a heavy stainless steel floor flange bolted securely to a concrete paver or deck.
- Cement custom clear acrylic mounting rings around the upper portion of the acrylic tube using specialized acrylic solvent cement.
- Hang transparent acrylic dome feeders and seed trays from the mounting rings using invisible fishing line or stainless steel wire.
Tips and Variations
Clean the acrylic tube regularly with a gentle microfiber cloth and plastic cleaner to prevent water spots and dust buildup from obstructing its crystal-clear invisibility.
18. Sleek Vertical Slatted Wood Panel Stand
Introduction
Architectural and rhythmically engaging, the sleek vertical slatted wood panel stand features a solid vertical screen of narrow wooden slats that adds texture and privacy screening to your garden.
What This Idea Means
This design borrows heavily from modern exterior architectural cladding and fence design. It transforms a simple bird feeder support into a stylish privacy screen or garden partition feature.
How to Make It
- Materials Needed: Cedar lath strips (1×2 inches), two heavy vertical 4×4 support posts, exterior wood screws, black exterior paint (for background depth), and hanging brackets.
- Step-by-Step Construction:
- Set your two main 4×4 cedar support posts firmly into concrete footers in your garden, spaced about 3 feet apart.
- Paint the backing wall area behind the posts in a matte black exterior paint to create deep visual contrast.
- Screw horizontal backing rails between the posts, then attach vertical cedar lath slats across the front with uniform half-inch gaps between each slat.
- Mount sleek black metal brackets onto the slatted wooden panel and hang modern geometric bird feeders directly against the slatted screen.
Tips and Variations
Run low-voltage LED strip lighting vertically behind the slatted wooden screen to backlight the entire feeding station during dusk and evening hours.
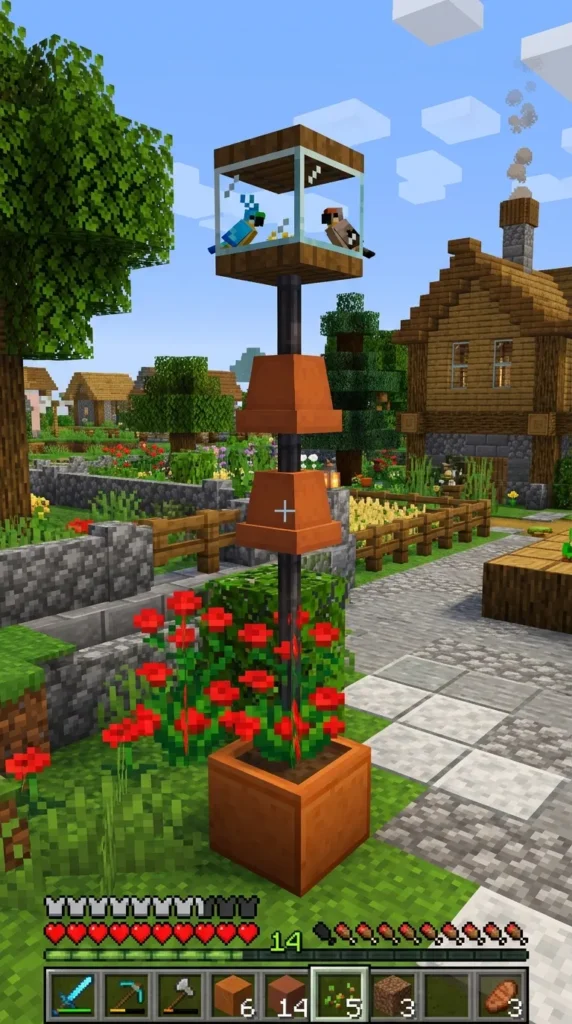
19. Modern Terracotta Pot and Iron Rod Stand
Introduction
Earthy yet thoroughly modern, this design utilizes inverted terracotta planters and a slim steel rod armature to create a sculptural, Mediterranean-inspired feeding station.
What This Idea Means
This concept reinterprets classic gardening materials in a contemporary structural context. By stacking and inverting clean-lined terracotta pots around a central metal rod, it creates interesting volumetric shapes.
How to Make It
- Materials Needed: A solid steel support rod (7 feet tall), several modern unglazed terracotta pots of varying taper diameters, a heavy base anchor, and a wide terracotta saucer for bird seed or water.
- Step-by-Step Construction:
- Anchor your solid steel rod firmly into the ground with concrete.
- Drill center holes through the bottom drainage bases of several modern cylindrical terracotta pots if necessary, or thread the rod through existing pot drainage holes.
- Slide and stack the terracotta pots upside down along the steel rod, creating a tapered sculptural totem pole effect. Secure them with rubber washers or metal support collars.
- Place a wide, shallow terracotta saucer on the topmost inverted pot to serve as a sleek bird bath or seed feeding tray. Seal the exterior with a breathable terracotta protector.
Tips and Variations
Leave the terracotta natural to age gracefully with mineral efflorescence, or paint select pots in matte white or sage green geometric color-block patterns for an ultra-modern twist.
20. Geometric Hexagon Wall-Style Free-Standing Pole
Introduction
Featuring honeycomb hexagonal framing, this freestanding pole stand introduces intricate geometric patterns that look stunning against garden greenery while providing multiple sheltered perches.
What This Idea Means
This avant-garde design draws inspiration from sacred geometry and honeycomb structures in nature. It replaces simple hanging hooks with an integrated geometric honeycomb display frame.
How to Make It
- Materials Needed: Narrow hardwood boards (1×2 inches), exterior wood glue, a miter saw set to exact 30-degree angles, a central support post, and reinforcing metal brackets.
- Step-by-Step Construction:
- Cut numerous small wood pieces with 30-degree mitered ends to assemble multiple interlocking hexagonal frames using waterproof wood glue and pin nails.
- Join several hexagons together into a striking honeycomb mesh panel matrix.
- Mount the honeycomb panel securely to the top of a sturdy vertical cedar support post anchored firmly in a concrete footing.
- Suspend small seed balls and tubular feeders inside the center openings of the honeycomb cells. Apply an exterior weather-resistant wood stain.