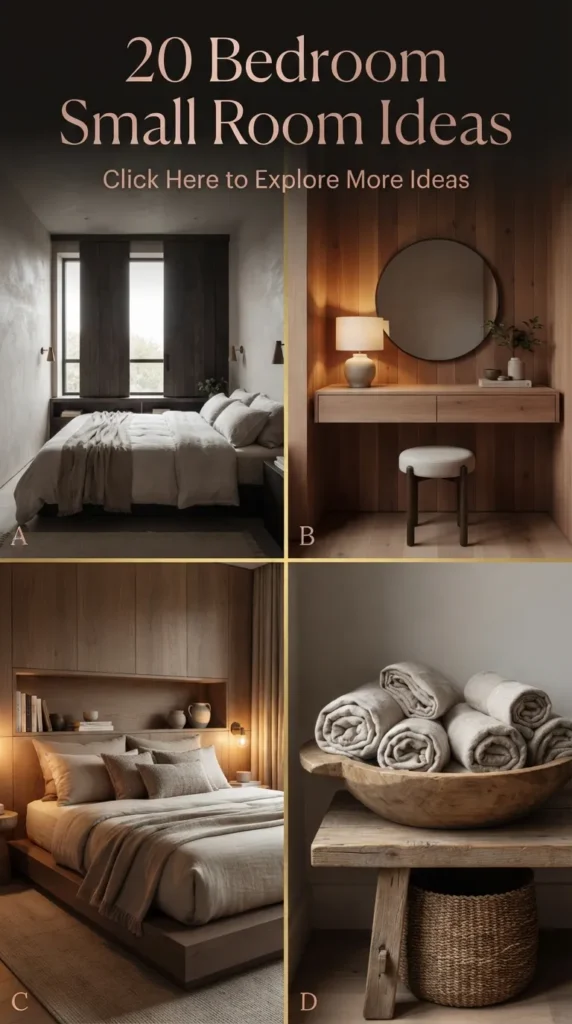
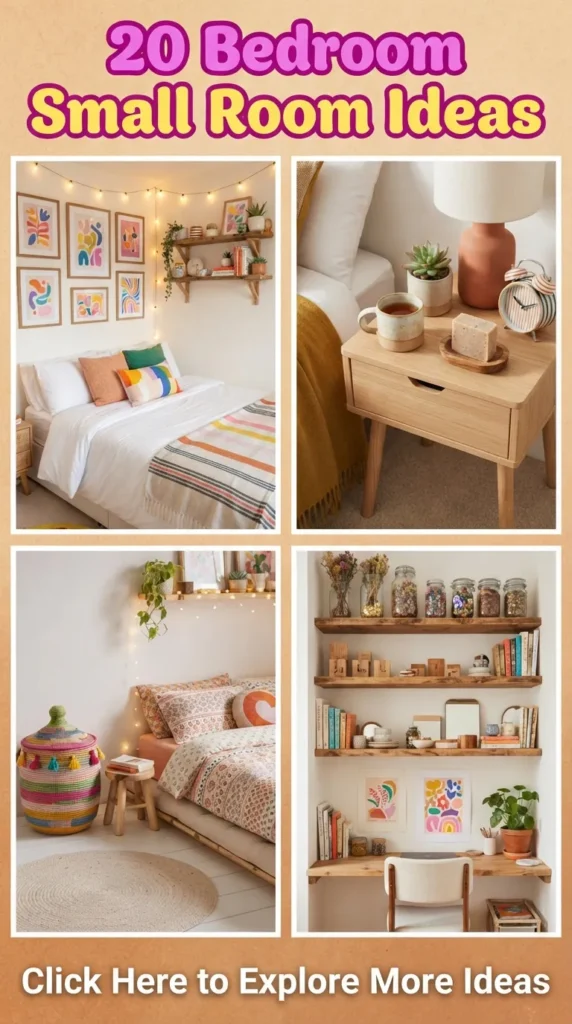
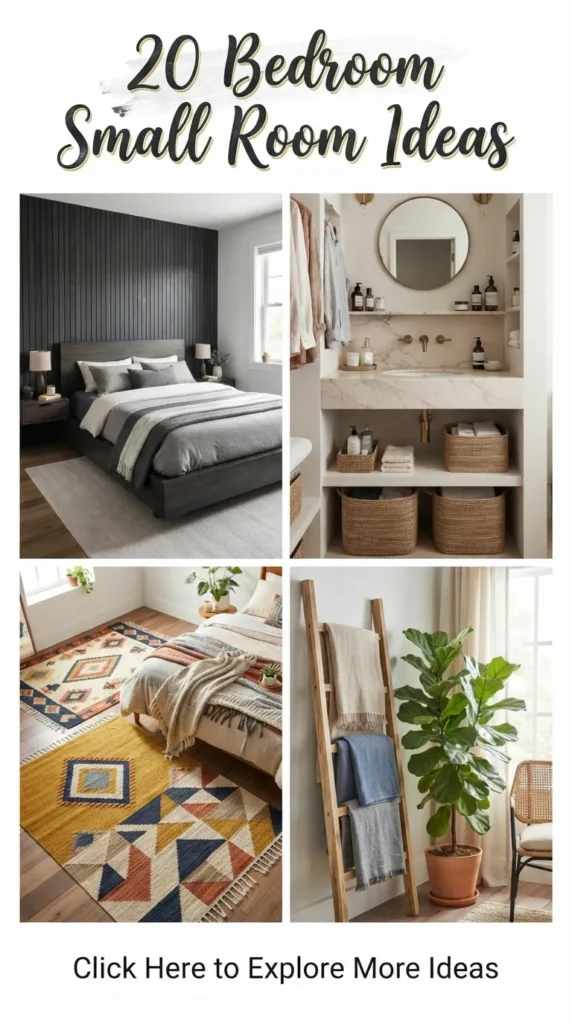
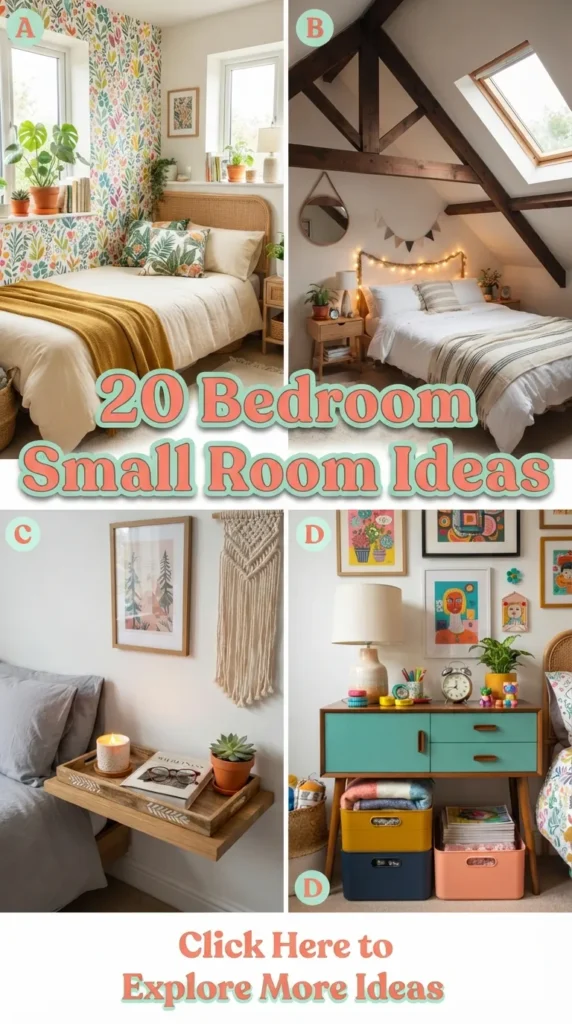
Small bedrooms often present design challenges, but limited square footage does not mean sacrificing aesthetic elegance or practical functionality. With thoughtful layout strategies, tailored millwork, refined texture palettes, and multi-functional furniture, a compact room can become an inviting, luxurious sanctuary.
Below are 20 curated modern design concepts tailored for small bedrooms, complete with design theory, step-by-step execution, styling tips, and variations.
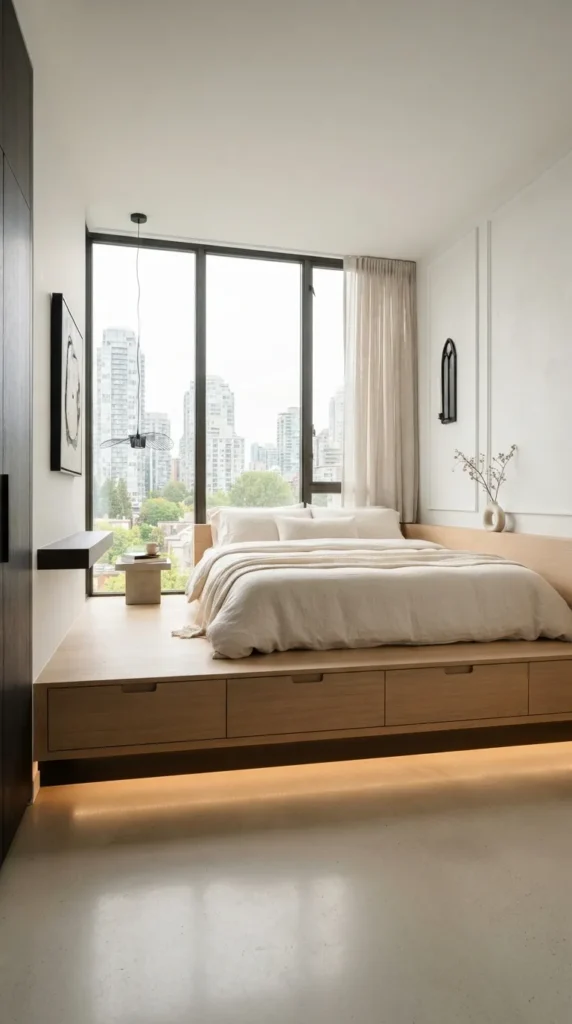
1. The Elevated Platform Bed with Integrated Storage
Introduction & What This Idea Means
The platform bed with built-in under-bed storage eliminates the dead zone beneath standard frames while maintaining a grounded, architectural profile. Rather than relying on loose plastic bins, a custom platform creates seamless pull-out drawers or pneumatic lift compartments, transforming horizontal space into a clean, modern base.
How to Make It
- Measure Footprint: Measure the mattress footprint precisely, allowing an extra 2 to 4 inches around the perimeter for a tailored, framed edge.
- Build the Subframe: Construct a rigid base framework using 2×4 lumber or structural plywood, dividing the lower section into two or three structural drawer cavities per side.
- Install Slide Hardware: Mount heavy-duty, soft-close undermount drawer slides rated for at least 75 lbs to handle linens, clothing, or footwear.
- Finish the Exterior: Clad the outer panels with white oak, walnut veneer, or painted medium-density fiberboard (MDF) matching the adjacent walls.
- Add Ventilation: Drill recessed air vents or slat panels into the mattress deck to preserve mattress breathability.
Tips and Variations
- Tip: Opt for handleless touch-latch (push-to-open) drawer fronts to maintain a smooth, snag-free perimeter around the bed walkway.
- Variation: Replace standard drawers with a hydraulic lift-up base if the clearance between the bed and the adjacent wall is narrower than 20 inches.
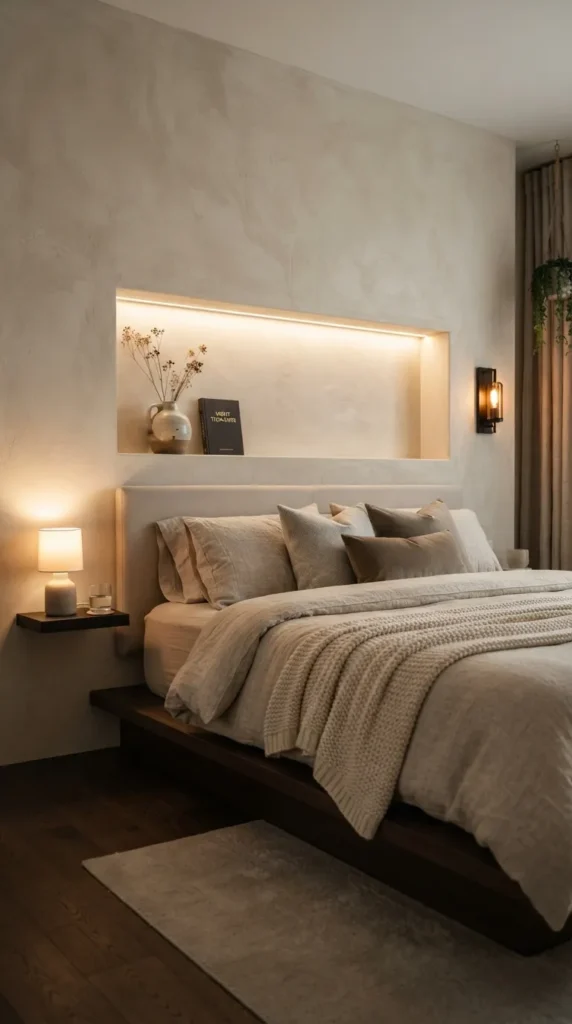
2. Floor-to-Ceiling Fluted Acoustic Wood Paneling
Introduction & What This Idea Means
Fluted wood slats establish vertical visual lines that draw the eye upward, giving the illusion of higher ceilings. In small bedrooms, acoustic slat paneling behind the bed serves as a textured accent wall, dampens ambient echo, and eliminates the need for a bulky, protruding headboard.
How to Make It
- Prepare the Surface: Paint the accent wall matte black or charcoal grey to create depth behind the slat gaps.
- Select Materials: Source pre-fabricated acoustic felt slat panels (natural oak or walnut bonded to recycled polyester felt).
- Cut to Size: Measure floor-to-ceiling heights at three wall points and trim the panels using a fine-tooth circular saw.
- Mount Securely: Adhere panels using construction adhesive paired with black drywall screws driven through the black felt backing directly into wall studs.
- Edge Detailing: Trim the top and outer edges with matching solid timber L-molding for a finished, bespoke appearance.
Tips and Variations
- Tip: Run subtle LED channel lighting along the upper ceiling track to cast soft downlight shadows across the vertical timber relief.
- Variation: Install paneling only on the central vertical third behind the bed, flanking both sides with floor-to-ceiling mirror panels to reflect natural light.
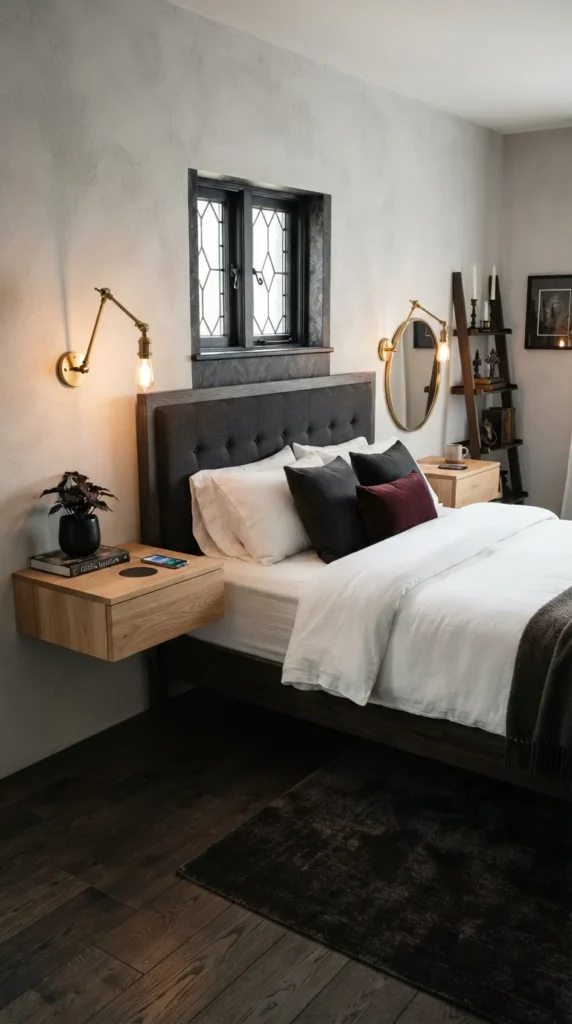
3. Suspended Floating Nightstands with Integrated Cable Ports
Introduction & What This Idea Means
Standard nightstands with four legs visually clutter tight floor space. Floating cantilevered bedside tables preserve exposed floor area, making the room feel open while providing essential surface space and hidden storage.
How to Make It
- Locate Studs: Use a stud finder behind the bedside area to mark structural anchor points.
- Assemble the Box: Construct a single-drawer minimalist box (14 inches wide by 10 inches deep by 6 inches high) from solid hardwood or painted composite.
- Install French Cleats: Fasten a heavy-duty aluminum or hardwood French cleat system to the wall studs and the back of the nightstand unit.
- Drill Cable Ports: Bore a 2-inch grommet hole inside the drawer rear for hidden charging stations.
- Secure the Unit: Hang the nightstand at level with the mattress top surface, securing an anti-lift screw underneath.
Tips and Variations
- Tip: Install a wireless charging pad directly routed into the underside of the top wood surface for completely cord-free bedside charging.
- Variation: Extend the floating nightstand shelf continuously across the entire headboard wall to create an integrated display ledge.
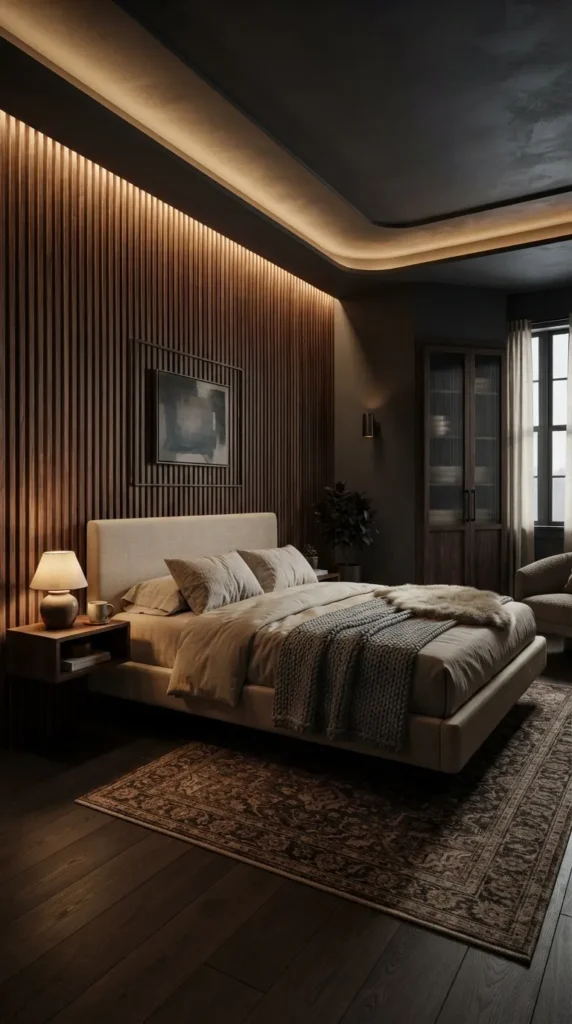
4. Recessed Headboard Niche with Warm LED Halo Lighting
Introduction & What This Idea Means
Carving a horizontal niche into an existing or built-out drywall partition provides functional display and storage without extending furniture into the room’s main circulation path. Warm halo illumination adds soft, atmospheric mood lighting without taking up table space.
How to Make It
- Frame the False Wall: Frame a shallow stud wall (3.5 to 4 inches deep) directly against the main bed wall if non-load-bearing structural recessing is unavailable.
- Box the Niche: Create a continuous horizontal opening 12 inches high, positioned 6 to 8 inches above the mattress height.
- Route Electricals: Run low-voltage wiring into the top or rear lip of the niche for LED aluminum channels.
- Drywall and Plaster: Sheetrock the frame, apply drywall tape, and coat with smooth lime plaster or skim coat.
- Mount Lighting: Press warm-white (2700K) diffuse COB LED strips into aluminum channels equipped with milky diffusers to avoid hot spots.
Tips and Variations
- Tip: Line the back surface of the niche with micro-cement or textured wallpaper for added tactile interest.
- Variation: Divide the niche into dedicated his-and-hers compartments, integrating individual toggle dimmer switches into the frame.
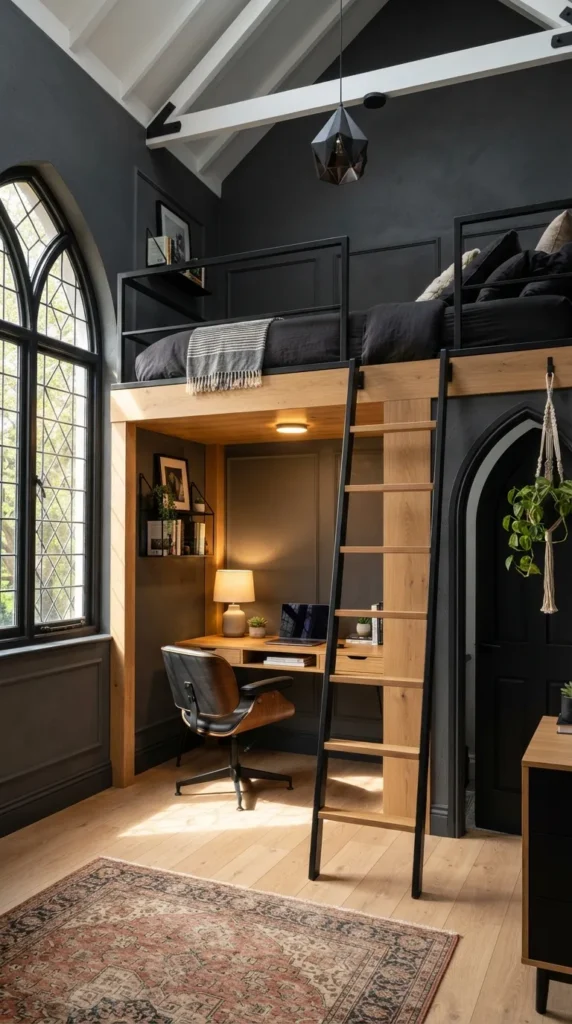
5. Architectural Loft Bed with Lower Lounge or Workstation
Introduction & What This Idea Means
Utilizing the vertical volume of rooms with ceilings 9 feet or higher doubles usable floor space. A mature, modern loft system separates the sleeping zone from the lower productivity or relaxation lounge, transforming compact spaces into efficient duplex layouts.
How to Make It
- Structural Anchoring: Secure structural steel square tubing or heavy glue-laminated timber uprights firmly anchored into wall studs and the floor substrate.
- Build the Platform: Create an upper sleeping deck with engineered joists, adding safety balustrades measuring at least 14 inches above the mattress top.
- Design the Access: Construct a compact, alternating-tread stair system or a vertical steel ladder with flat rungs.
- Outlay Lower Zone: Install a built-in desk or a low-profile lounge seat below the loft deck.
- Integrate Under-Deck Lighting: Install flush puck lights under the loft floor to illuminate the workspace below.
Tips and Variations
- Tip: Build integrated pull-out storage drawers within each step of the access staircase.
- Variation: Replace the lower desk with a low daybed and wall-mounted media unit to make the zone a dedicated lounge.
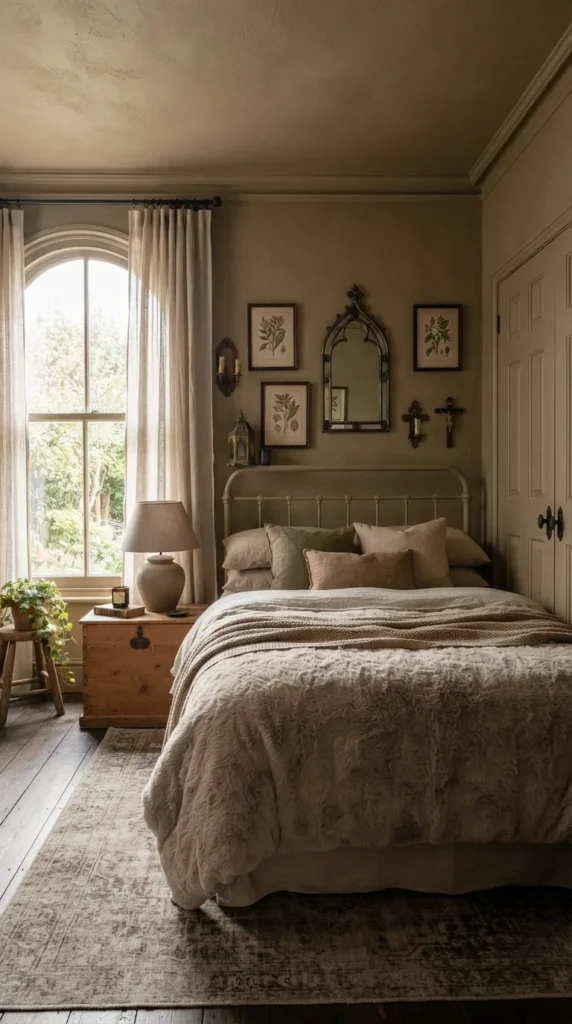
6. Monochromatic Color Drenching with Textured Lime Wash
Introduction & What This Idea Means
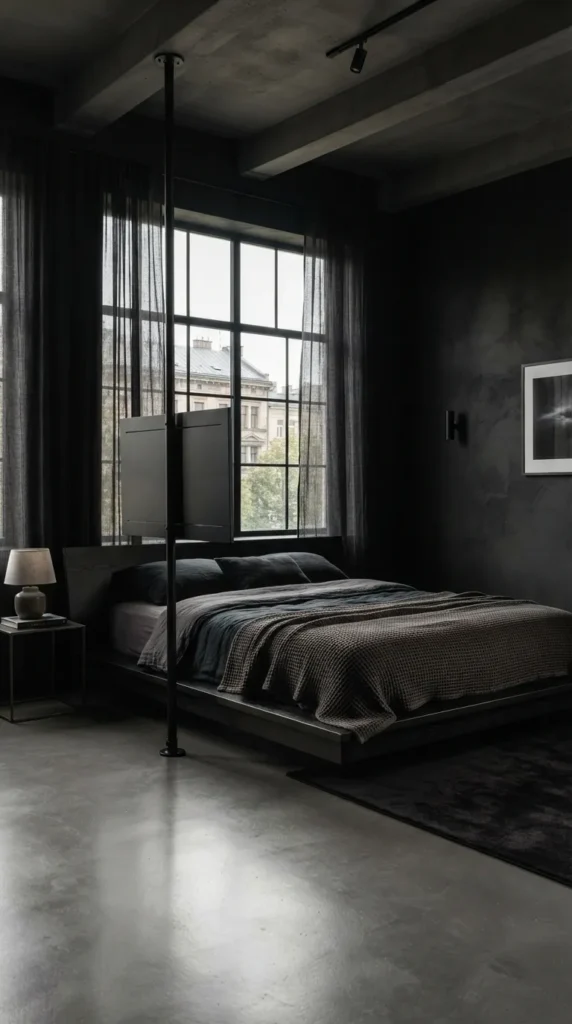
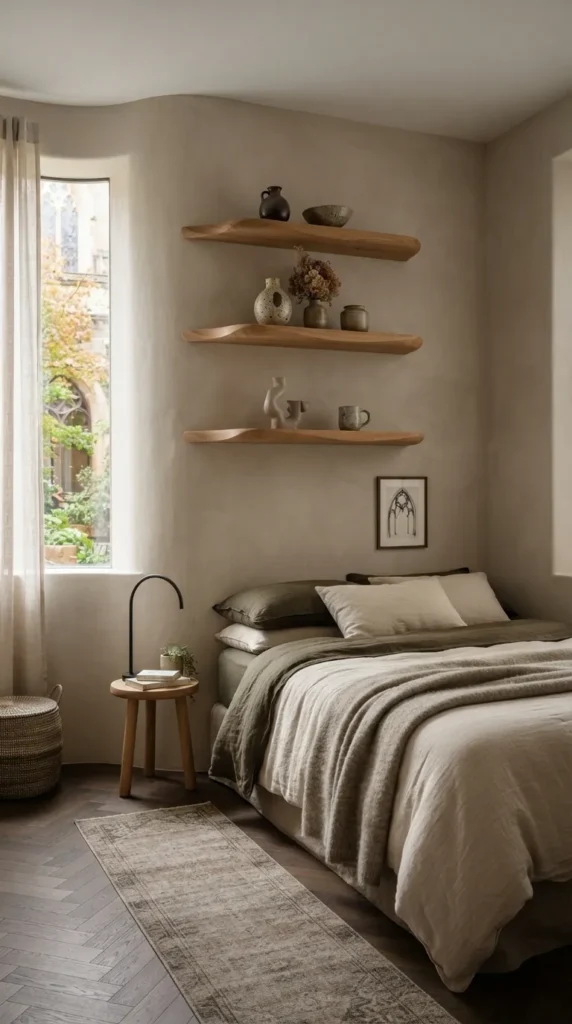
Color drenching involves painting the walls, baseboards, door trims, and ceiling in a single unified hue. In small rooms, this softens crisp perimeter edges and corners, creating an enveloping, serene environment that visually expands spatial boundaries.
How to Make It
- Choose the Palette: Select a warm, light-reflective neutral, soft taupe, muted sage, or warm greige.
- Prep Surfaces: Sand and prime all drywall, wooden trim, moldings, and ceiling surfaces with an all-surface bonding primer.
- Apply Base Coat: Roll two uniform base coats across all surfaces in a flat or matte finish.
- Layer Lime Wash: Apply natural lime wash or mineral paint over the walls using wide, cross-hatch strokes with a masonry brush to build depth and subtle mottling.
- Paint Woodwork: Use the exact same color in an eggshell or satin finish on baseboards and doors to tie the planes together.
Tips and Variations
- Tip: Keep fabrics and bed linens within 1 to 2 shades of the wall color to maintain the calm, unbroken silhouette.
- Variation: Invert the sheen: use ultra-matte lime plaster on the walls and high-gloss enamel in the identical color on the ceiling to bounce overhead light.



7. Floor-to-Ceiling Mirrored Wardrobe Doors with Dark Steel Trim
Introduction & What This Idea Means
Reflective surfaces bounce natural light and visually double the perceived width of a narrow bedroom. Framing floor-to-ceiling mirror sheets within slim industrial black or bronze metal frames turns functional closet storage into an expansive architectural feature.
How to Make It
- Frame Closet Opening: Ensure wardrobe openings are squared and plumb from finished floor to ceiling.
- Select Mirror Hardware: Source floor-to-ceiling track systems with top-hung, heavy-duty ball-bearing rollers.
- Mount Mirror Panels: Fit safety-backed mirror glass within ultra-slim aluminum or steel profiles.
- Install Floor Guides: Recess a slim floor track or concealed floor guides to prevent panel sway.
- Adjust Alignment: Adjust the roller heights until the door panels sit flush with minimal gap tolerances along the ceiling line.
Tips and Variations
- Tip: Use bronze or smoked mirror glass rather than standard silver mirror to soften reflections and create a moodier, high-end hotel ambiance.
- Variation: Add horizontal mullions on the frame to achieve a modern crittall-style Japanese Shoji aesthetic.
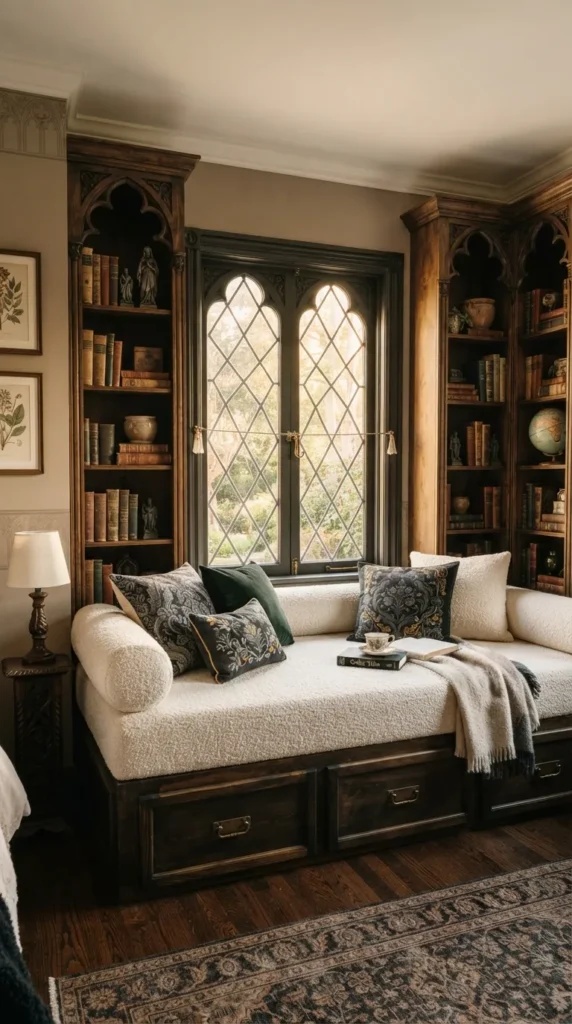
8. Built-in Window Daybed with Flanking Bookshelves
Introduction & What This Idea Means
Window alcoves are often underutilized in compact floor plans. Converting this zone into an integrated daybed bench with book towers turns dead perimeter area into comfortable reading, lounging, and hidden storage space.
How to Make It
- Measure Window Sill: Ensure the top surface of the bench sits roughly 18 to 20 inches from the floor (including the cushion).
- Build Base Carcase: Construct a sturdy plywood box with top-opening bench lid hinges or front-facing soft-close drawers.
- Erect Side Towers: Flank the window by anchoring two narrow floor-to-ceiling bookcases to the adjacent side walls.
- Install Bridge Valance: Connect the two towers above the window casing with a slim soffit box containing recessed mini-spotlights.
- Upholster Cushion: Cut 4-inch high-density foam to size, wrapping it in durable linen or boucle upholstery fabric.
Tips and Variations
- Tip: Use moisture-resistant marine-grade plywood if the window is prone to condensation during colder seasons.
- Variation: Incorporate HVAC radiator vent grilles into the kick plate of the daybed bench if heating units are situated below the window.
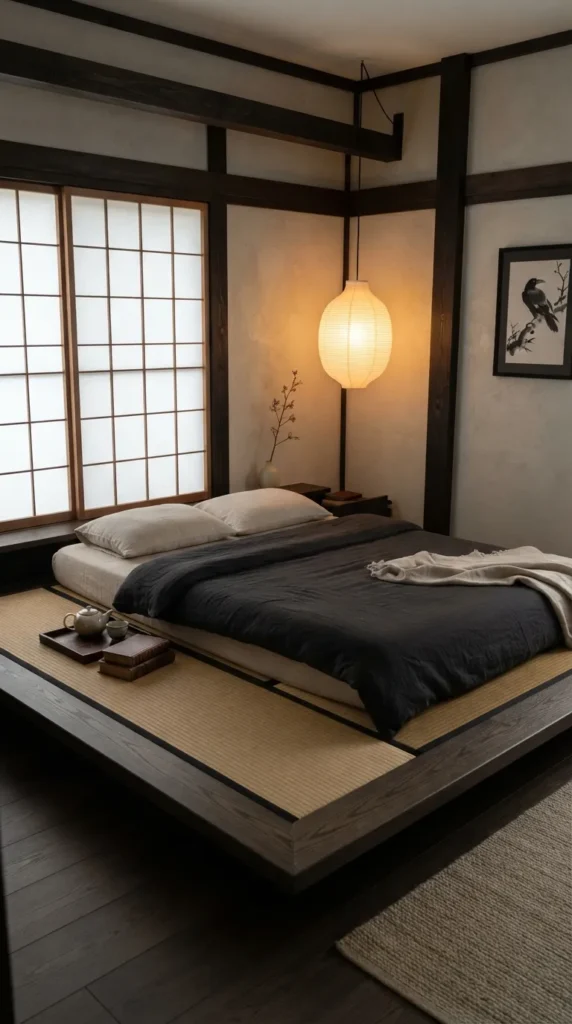
9. Minimalist Japanese Low-Profile Tatami Bed Frame
Introduction & What This Idea Means
Low-profile furnishings lower the visual focal point in the room, creating an airy expanse between the top of the bed and the ceiling. This Japanese-inspired aesthetic emphasizes horizontal balance, calming textures, and clean floor space.
How to Make It
- Select Solid Lumber: Use seasoned solid ash, oak, or cherry timber cut to low-clearance proportions (6 to 8 inches off the ground).
- Build Solid Platform Frame: Assemble the perimeter with lap joints, incorporating internal center support rails.
- Incorporate Tatami Mats: Recess woven rush-grass tatami mats into the platform deck to support a traditional futon or standard mattress.
- Sand and Oil Finish: Sand all visible surfaces through 220-grit paper, finishing with clear hard-wax oil for a natural, low-luster sheen.
- Keep Clearances Wide: Allow a 4 to 6-inch revealed wood ledge around the edge of the mattress.
Tips and Variations
- Tip: Keep all accompanying wall art hung lower on the walls to preserve the natural balance of low-profile living.
- Variation: Embed low-output amber LED strip lighting beneath the outer recessed edge to make the low platform appear to float above the floor.
10. Sliding Pocket French Doors with Frosted Reeded Glass
Introduction & What This Idea Means
Traditional hinged swing doors consume roughly 9 to 12 square feet of floor space across their opening arc. Sliding pocket doors disappear inside the wall cavity, while frosted reeded glass panels maintain acoustic privacy and transmit natural light between adjoining rooms.
How to Make It
- Open the Wall Studs: Remove existing drywall and install a structural pocket door frame cage kit within the wall opening.
- Run Heavy-Duty Track: Level and mount a top-hung aluminum extruded track rated for architectural glass doors.
- Hang the Door Slab: Fit a custom timber or aluminum frame door containing 8mm tempered reeded (fluted) glass into the trolley hangers.
- Add Edge Locks: Install flush mortise edge pulls and quiet latch privacy hardware.
- Sheetrock and Trim: Re-clad the exterior pocket with 5/8-inch sound-dampening drywall and slim casing trim.
Tips and Variations
- Tip: Choose soft-close and soft-open dampeners to prevent loud slamming against internal wall studs.
- Variation: Use an exposed ceiling-mounted black steel barn door slider if opening the structural wall cavity is not an option.
11. Over-the-Bed Bridge Wardrobe and Storage Wall
Introduction & What This Idea Means
The wall space directly above and around the bed is often left empty. A bridge wardrobe wraps cabinetry seamlessly around the bed, forming an integrated alcove that acts as a headboard while offering deep wardrobe and overhead overhead storage.
How to Make It
- Anchor Twin Tall Towers: Build two full-height wardrobe units (24 inches deep) on either side of the designated bed area.
- Span the Upper Cabinetry: Fasten bridge cabinets securely between the tall units using heavy-duty wall cleats and reinforced side joints.
- Line the Alcove: Finish the recessed back wall of the bed alcove with upholstered linen acoustic panels or timber veneer.
- Incorporate Task Lights: Drill and route flush-mount adjustable reading spotlights directly into the underside of the upper bridge cabinets.
- Mount Flat Panel Doors: Install handleless slab cabinet doors with soft-close hinges across all compartments.
Tips and Variations
- Tip: Paint the entire cabinetry wall the exact same color as the adjacent room walls so it recedes visually.
- Variation: Replace solid center bridge doors with glass-front display cabinetry featuring backlighting for a lighter architectural presence.
12. Floating Curved Drywall Corner and Organic Shelving
Introduction & What This Idea Means
Rigid, sharp 90-degree corners can make compact rooms feel boxy and confined. Introducing soft curved plaster transitions and floating organically-shaped corner shelves softens sightlines and opens up tight circulation pathways.
How to Make It
- Frame Curved Substructure: Install flexible track along the floor and ceiling in tight corners, securing flexible drywall or kerfed gypsum boards.
- Apply Joint Compound: Layer lightweight drywall compound over curved corner beads, feathering the edges out 12 inches for a seamless sweep.
- Shape Floating Shelves: Cut curved teardrop or quarter-circle floating shelf blanks out of 1.5-inch thick hardwood or paint-grade Baltic birch.
- Internal Mounting: Secure concealed steel shelf support rods deep into corner framing studs before mounting the shelves.
- Plaster Finish: Apply a micro-cement or plaster topcoat across the curved corner and shelves for a clean, unified surface.
Tips and Variations
- Tip: Style with sculptural ceramics and trailing plants to highlight the organic, rounded shape.
- Variation: Apply subtle vertical lime washing across the curved section to create a gentle focal point.
13. Ceiling-Suspended Swivel TV Mount & Cable Concealment
Introduction & What This Idea Means
In small bedrooms, bulky media consoles occupy valuable floor clearance. A minimalist, matte black ceiling pole with a 360-degree swivel allows a flat-screen TV to be positioned at the foot of the bed or turned toward a seating area, keeping the floor entirely clear.
How to Make It
- Locate Ceiling Joists: Identify and mark solid structural ceiling joists directly above the desired viewing axis.
- Mount Structural Base Plate: Fasten a heavy-duty steel ceiling flange using structural lag bolts into the center of the joists.
- Drop the Downrod: Thread an internal-cable-channel steel downrod of the required drop length into the flange.
- Route Wiring: Run power cables, ultra-thin fiber-optic HDMI, and ethernet leads down through the center of the hollow pole.
- Attach VESA Bracket: Bolt the TV to the swivel VESA plate, adjust the tilt angle, and secure the anti-vibration set screws.
Tips and Variations
- Tip: Place the television against a dark or paneled wall when turned off so it blends quietly into the background.
- Variation: Replace the TV screen entirely with an ultra-short-throw laser projector combined with a ceiling-recessed motorized drop-down screen.
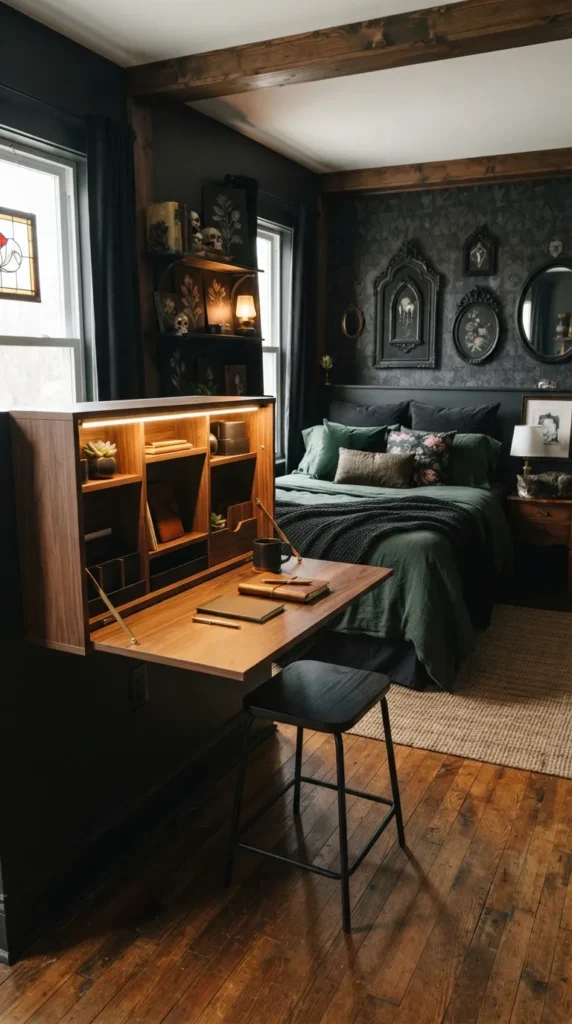
14. Multifunctional Fold-Down Murphy Desk with Sconce Lighting
Introduction & What This Idea Means
A fold-down wall desk provides a solid, dedicated workspace that folds away flush when not in use. This converts a restful sleeping space into a functional home office during work hours without encroaching on bedroom circulation.
How to Make It
- Construct Shallow Cabinet: Build an open-faced plywood wall box measuring 32 inches wide, 24 inches high, and 6 inches deep.
- Hinge the Worktop: Attach a reinforced drop-front leaf using heavy-duty piano hinges or adjustable hydraulic drop-lid stays.
- Mount Internal Organization: Install shallow organizer cubbies, pencil ledges, and cork or felt pinboards inside the back cavity.
- Anchor Wall Unit: Fasten the entire assembly firmly into wall studs at a working desk height of 29 to 30 inches.
- Add Wall Sconce: Install an articulated, plug-in brass or matte-black wall sconce directly above the cabinet framework.
Tips and Variations
- Tip: Mount a shallow decorative art frame on the external face of the fold-down leaf so it resembles a framed art piece when closed.
- Variation: Add an interior LED strip activated by an automatic magnetic contact switch whenever the desk door drops open.


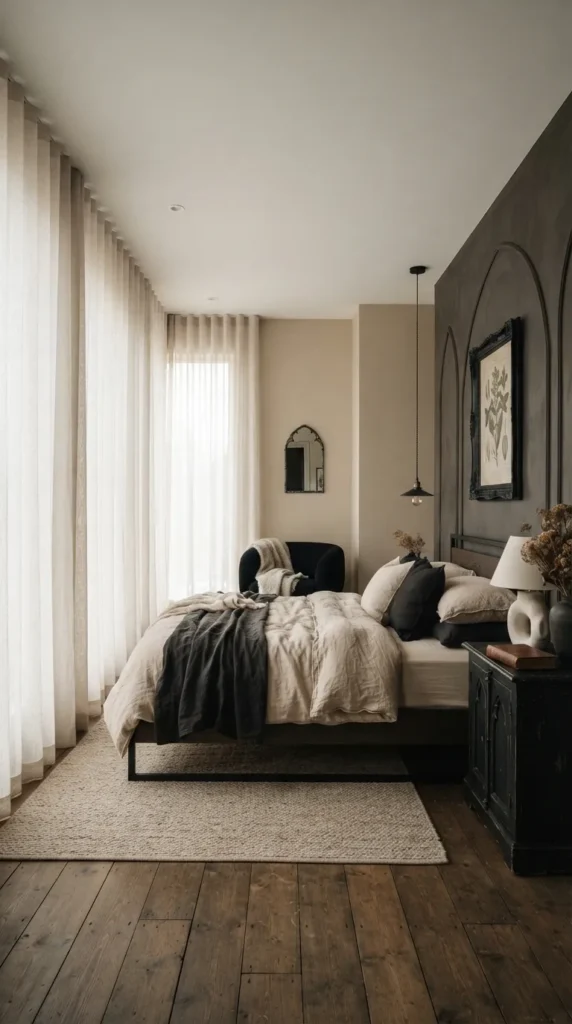
15. Wall-to-Wall Sheer Curtain Track Layering
Introduction & What This Idea Means
Limiting curtains to the width of the window frame can make a room feel small and segmented. Running sheer drapery from the ceiling track continuously from wall to wall softens room acoustics and creates the illusion of an expansive window suite behind the fabric.
How to Make It
- Mount Ceiling Track: Install a low-profile white aluminum curtain track flush against the ceiling, extending from the far-left corner to the far-right corner.
- Calculate Fabric Fullness: Order custom curtains with a 2x to 2.5x wave-fold fullness to ensure consistent ripple folds when closed.
- Choose the Fabric: Select lightweight, breathable linen blends or translucent voile that filter harsh light while letting daylight through.
- Hang Drapery: Attach carrier hooks evenly spaced on the ripple track to maintain consistent, structured folds.
- Hem precisely: Hem the fabric so it rests roughly 0.5 inches above the finished flooring for clean movement without bunching.
Tips and Variations
- Tip: Add a motorized, battery-operated track motor tucked behind the corner stack for automated smart control via phone or voice.
- Variation: Use dual tracks—one carrying airy daytime sheers and the second supporting a high-density blackout drape for restful sleep.
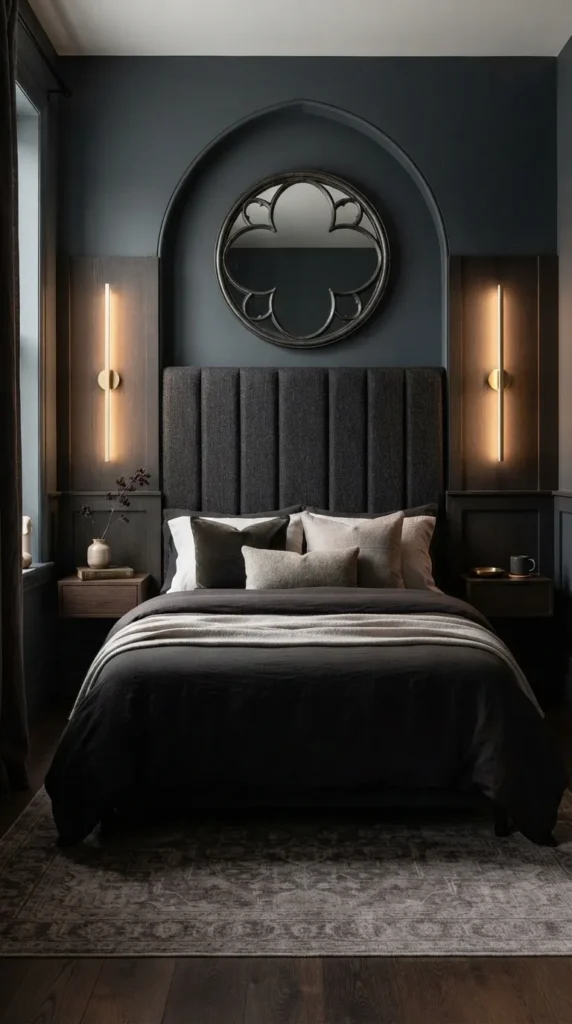
16. Vertical Symmetrical Brass Wall Sconces (Zero-Footprint Lighting)
Introduction & What This Idea Means
Bedside table lamps take up roughly 40% of the surface area on small nightstands. Hardwiring or surface-mounting vertical architectural brass sconces directs light where it is needed, elevates vertical balance, and keeps bedside surfaces uncluttered.
How to Make It
- Determine Height: Mark electrical junction boxes approximately 40 to 44 inches from the floor (around shoulder height when sitting up in bed).
- Wire the Boxes: Fish electrical wiring through the wall cavities to a bedside dual rocker switch plate.
- Mount Fixtures: Secure slim linear or articulated modern brushed-brass fixtures directly to the electrical mounting plates.
- Install Low-Glare Diffusers: Use warm (2700K) frosted LED tubular bulbs (T10 or linestra style) to prevent direct glare while reading.
- Balance Symmetry: Ensure the distance from the outer edge of the headboard to each sconce is identical on both sides down to the millimeter.
Tips and Variations
- Tip: Choose sconces with secondary articulated reading spot nozzles that can be focused without illuminating the entire bedroom.
- Variation: Use stylish braided-fabric cord plug-in sconces anchored with brass wall hooks if you cannot run wiring inside the wall.
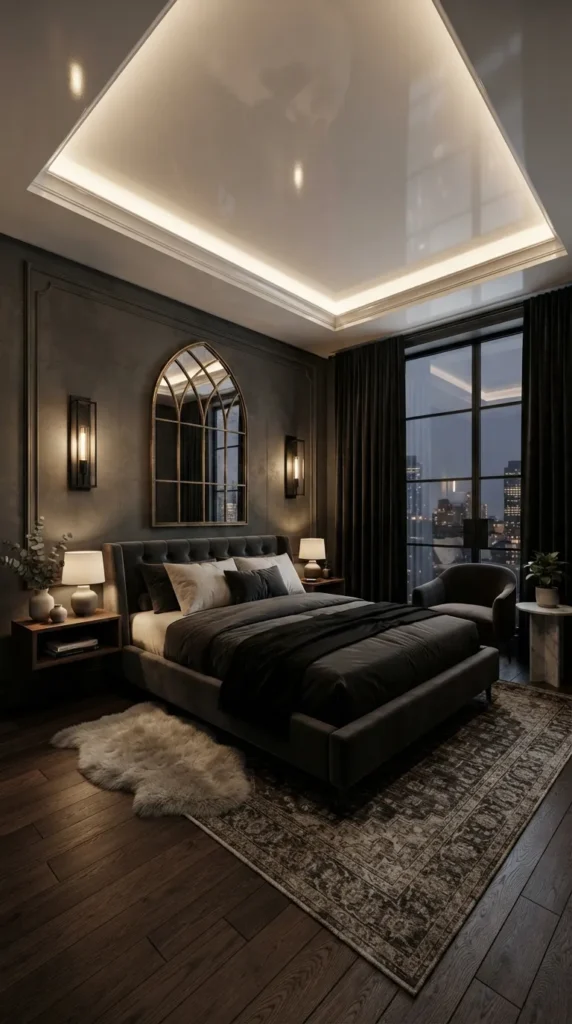
17. High-Gloss Lacquered Ceiling with Recessed Perimeter Glow
Introduction & What This Idea Means
A high-gloss or mirror-lacquered ceiling reflects the room below, creating the optical illusion of double height. Framing this reflective plane with a soft, recessed perimeter cove light softens the transition and provides gentle ambient lighting.
How to Make It
- Prepare Ceiling Substrate: Skim-coat the entire ceiling to a flat Level 5 drywall finish; high-gloss finishes reveal every imperfection.
- Build Perimeter Cove: Construct a dropped perimeter drywall soffit (4 inches drop, 4 inches out) around the outer perimeter of the room.
- Paint or Stretch Membrane: Apply high-gloss enamel lacquer paint via airless sprayer, or install a reflective high-gloss stretch-PVC ceiling membrane.
- Lay Cove Lighting Channels: Install continuous aluminum LED extrusion channels pointed inward toward the center ceiling along the hidden ledge of the soffit.
- Connect Dimming Controllers: Use a 0-10V or wireless PWM LED driver for smooth dimming down to 1%.
Tips and Variations
- Tip: Choose off-white, light cream, or pale sky-blue lacquer rather than stark brilliant white to avoid clinical reflections.
- Variation: Paint the perimeter cove walls a contrasting deep matte color to frame the glossy ceiling center.
18. Continuous Integrated Headboard-to-Desk Joinery
Introduction & What This Idea Means
Standalone furniture pieces often leave unusable gaps in tight floor plans. Continuous custom joinery connects the headboard, floating bedside ledge, and adjoining study desk into a single fluid wood element, creating a cohesive, tailored look.
How to Make It
- Map the Perimeter Run: Measure the entire wall span from the corner behind the bed across to the adjacent window wall.
- Build Continuous Backer: Mount a continuous wood-veneered horizontal paneling system spanning the entire lower 36 inches of the wall.
- Cantilever the Desk: Project a 20-inch deep desk surface out from the joinery run using heavy-duty concealed steel brackets.
- Integrate Bed Base: Anchor the low bed platform directly into the shared wooden backer board to eliminate extraneous structural legs.
- Uniform Material Palette: Use a consistent timber veneer, such as quarter-sawn white oak or light birch, across the entire millwork run.
Tips and Variations
- Tip: Route flush power and USB grommets along the top edge of the desk joinery to keep work cables organized.
- Variation: Upholster individual segments of the continuous backer panel behind the mattress with padded bouclé fabric.
19. Floor-to-Ceiling Slim Vertical Radiator / Climate Panel
Introduction & What This Idea Means
Wide, traditional horizontal radiators take up valuable low-wall space, restricting where you can place beds or storage units. Replacing them with a tall, slender vertical architectural radiator frees up horizontal wall space and adds a modern structural feature.
How to Make It
- Isolate Plumbing Lines: Drain the hydronic central heating zone and isolate the pipe feeds to the existing unit.
- Reroute Piping: Reroute hot and cold copper feeds up through the floor inside a narrow vertical wall chase.
- Mount Structural Brackets: Secure heavy-duty steel mounting brackets into solid structural framing to support the vertical unit.
- Hang Vertical Radiator: Install a slim (12 to 14 inches wide by 72 inches tall) column or flat-panel radiator in matte anthracite or white.
- Fit Modern Valves: Connect thermostatic angled radiator valves (TRVs) neatly at the base for precise, compact temperature control.
Tips and Variations
- Tip: Choose an electric vertical infrared glass heating panel with a mirrored finish to combine heating and a full-length dressing mirror in one.
- Variation: Match the radiator’s powder-coated finish directly to the adjacent wall paint color so it blends seamlessly into the background.
20. Split-Level Raised Floor with Sunken Bed Alcove
Introduction & What This Idea Means
Zoning a room through different floor elevations creates distinct living areas without needing physical dividing walls. Building a raised platform over part of the room defines a dedicated sleeping area while providing substantial, hidden underfloor storage accessed via flush trapdoors or deep step drawers.
How to Make It
- Frame Elevated Deck: Construct a structural timber framework elevated 14 to 18 inches above the existing subfloor using sturdy 2×8 joists.
- Build Recessed Mattress Well: Frame a central well within the raised deck, sized 2 inches wider than the mattress dimensions and 8 inches deep.
- Install Deck Hatch Storage: Fit high-capacity gas struts onto flush-fitting platform deck lids to access under-floor storage compartments.
- Finish Flooring Surfaces: Lay wide-plank engineered timber flooring continuously across both the lower subfloor and the raised platform deck.
- Step Integration: Build two wide, low-rise transitional steps incorporating low-voltage floor-wash pathway step lights.
Tips and Variations
- Tip: Line the sunken mattress well with breathable, washable felt or cedar slats for mattress longevity and continuous airflow.
- Variation: Drop a small pop-up low coffee table on pneumatic pistons into the platform floor for multi-functional lounge use during daytime hours.